Stalking round the Submarine Pens – a Solo Sniper Elite Sitrep
23rd May 2022
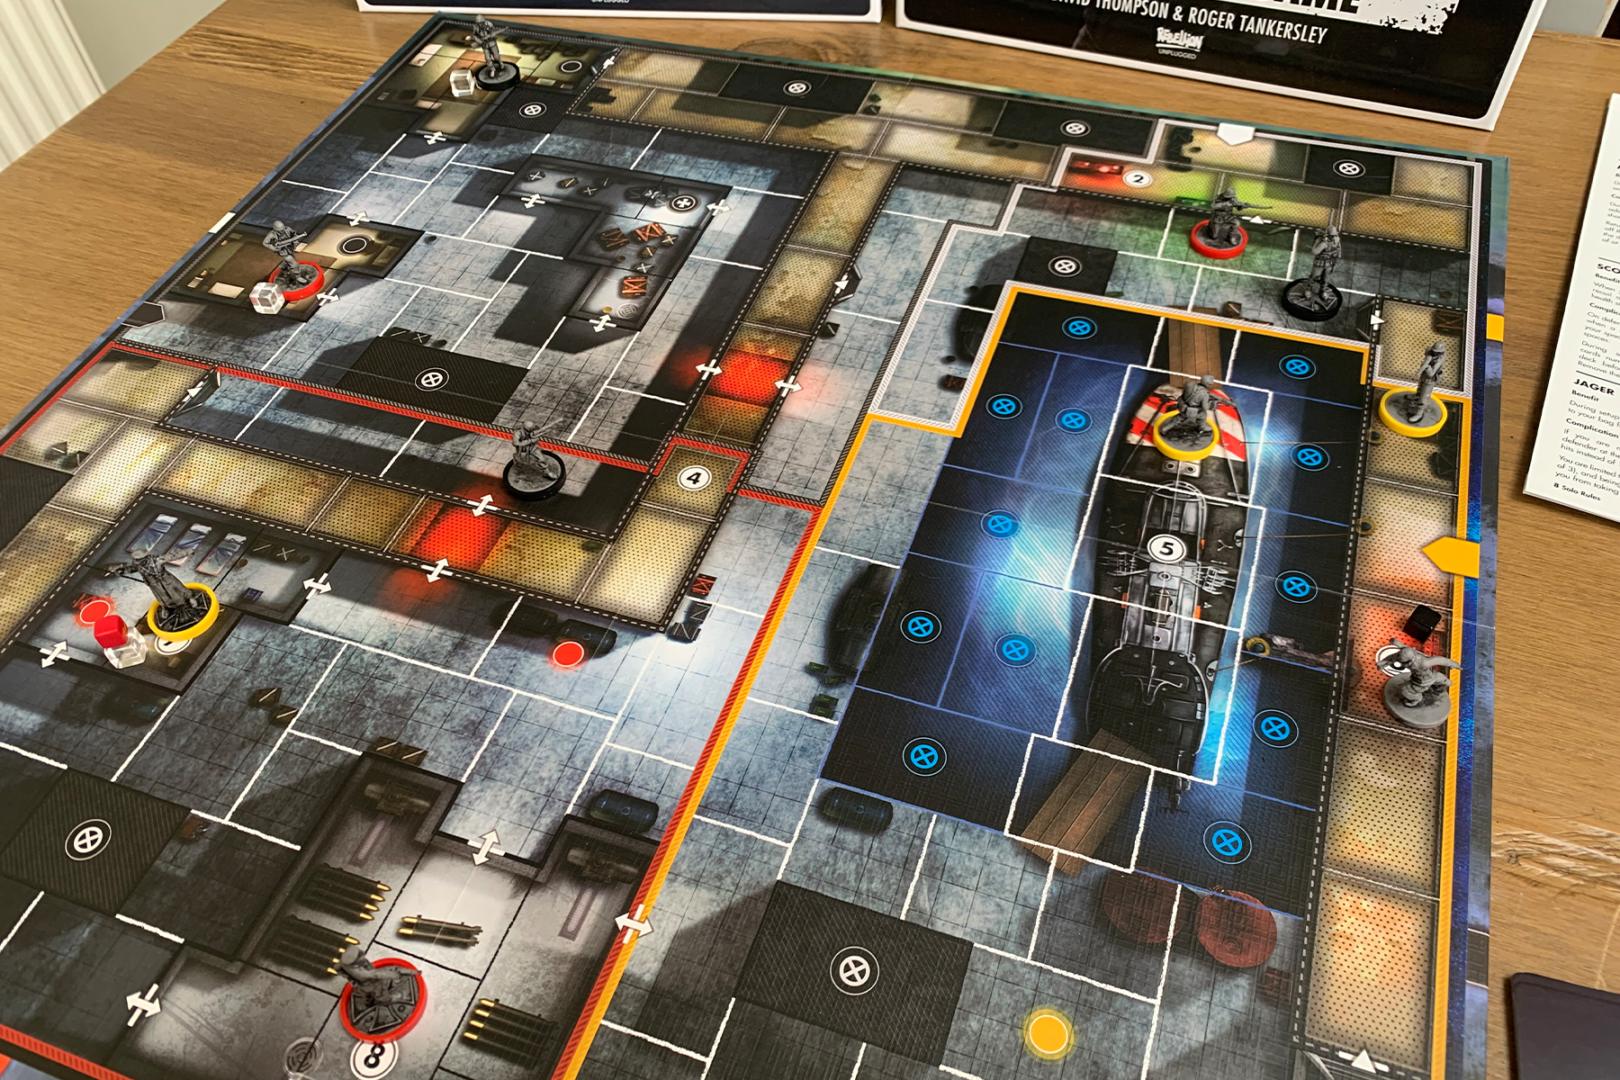
Today on the blog we’re taking a closer look at the solo rules for Sniper Elite: The Board Game from Dávid Turczi and Noralie Lubbers with a solo playthrough on the Submarine Pens map.
The Submarine Pens – a prime target for Allied infiltration. Shielded from the air by rocks and thick walls, the best way to cause chaos here is to get someone on the inside. That is where I come in.
In this solo game of Sniper Elite: The Board Game I’ve been tasked with sabotaging the landing gear and leaving some information for an Allied informant we have on the inside. The enemies are spread out around the base, but as the mission progresses they will move to react to my actions or to secure key positions around the board and make my life as difficult as possible.
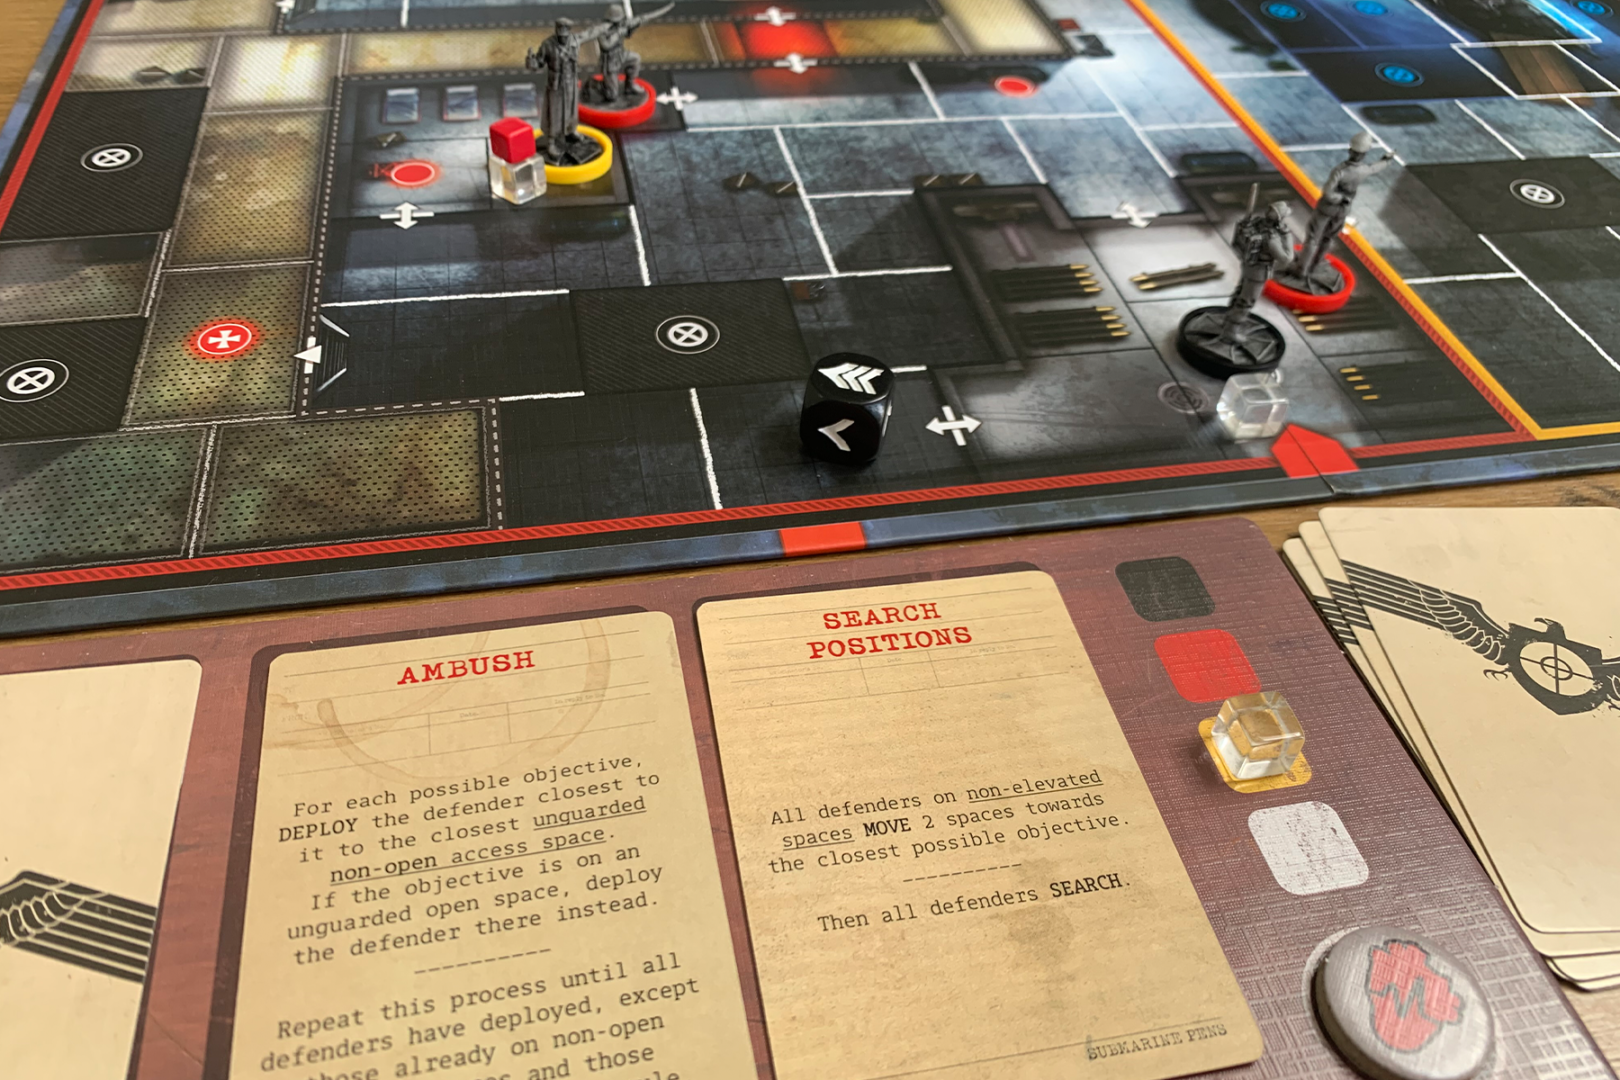
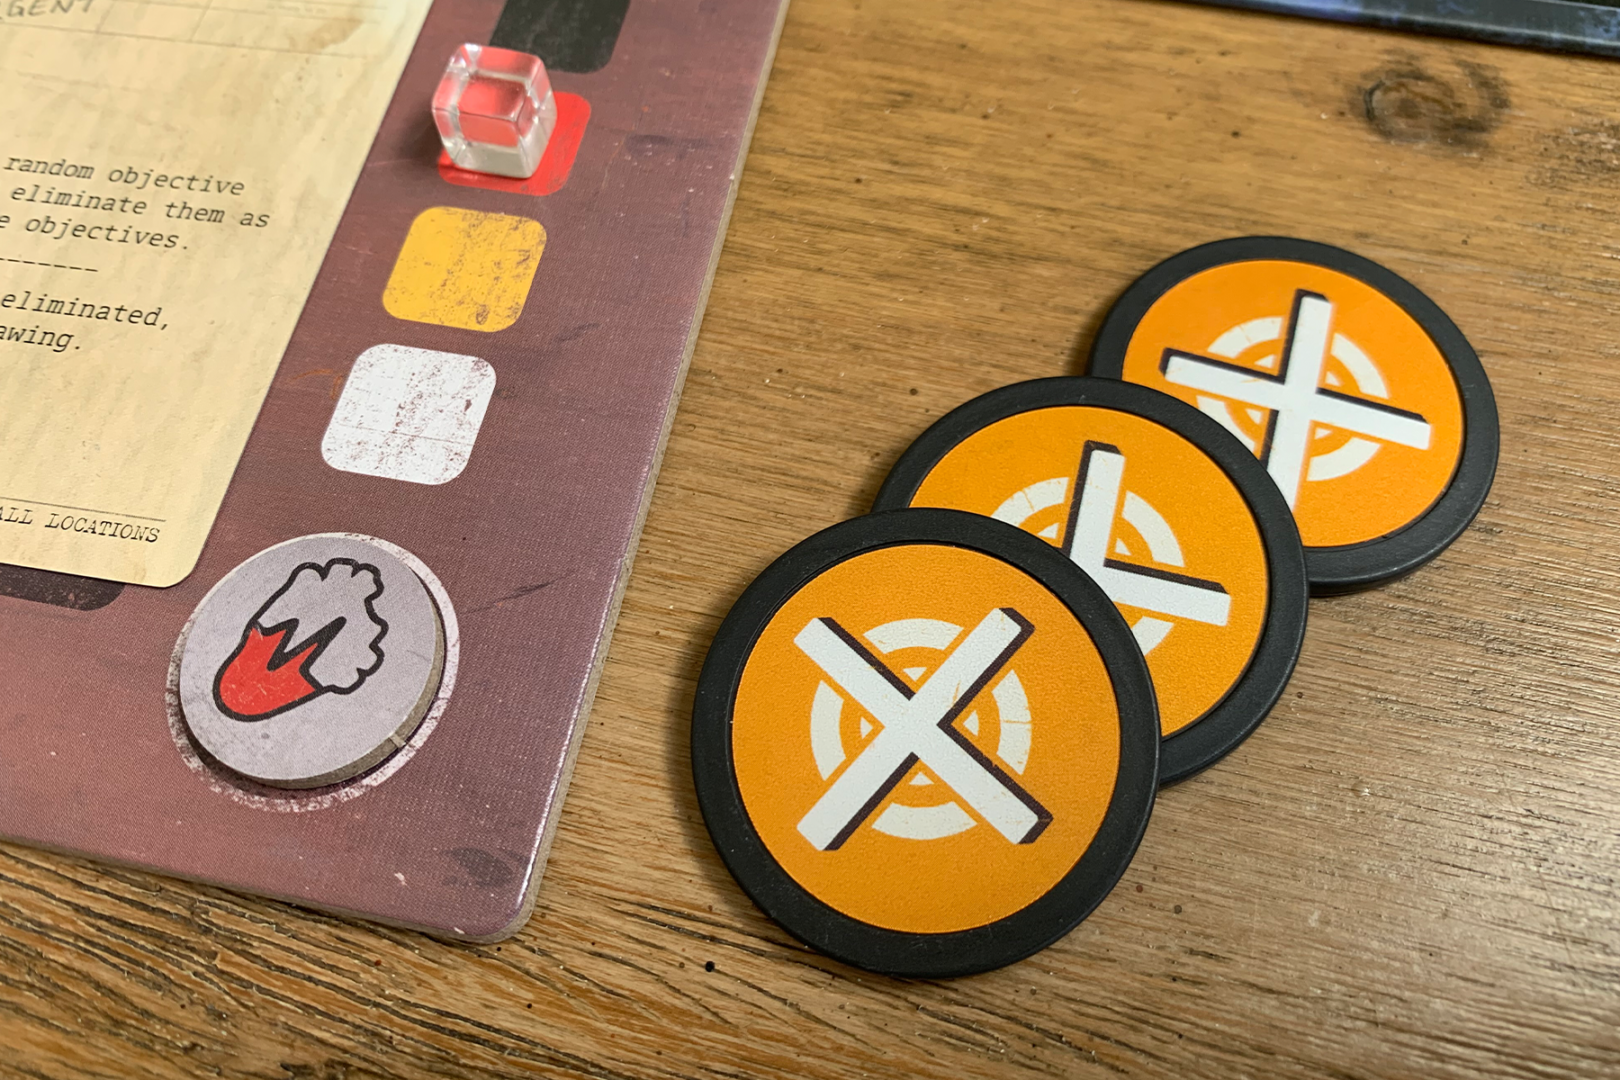
Speaking of making my life difficult, on the back page of the solo mode rulebook there are Officer Challenges you can take on to increase the difficulty of the game. Having spent the weekend playing Sniper Elite on my PC, I felt in a good place to channel my inner Karl Fairburne and so opted to try the Radio Operator challenge, going a step further by taking the complication without the benefit.
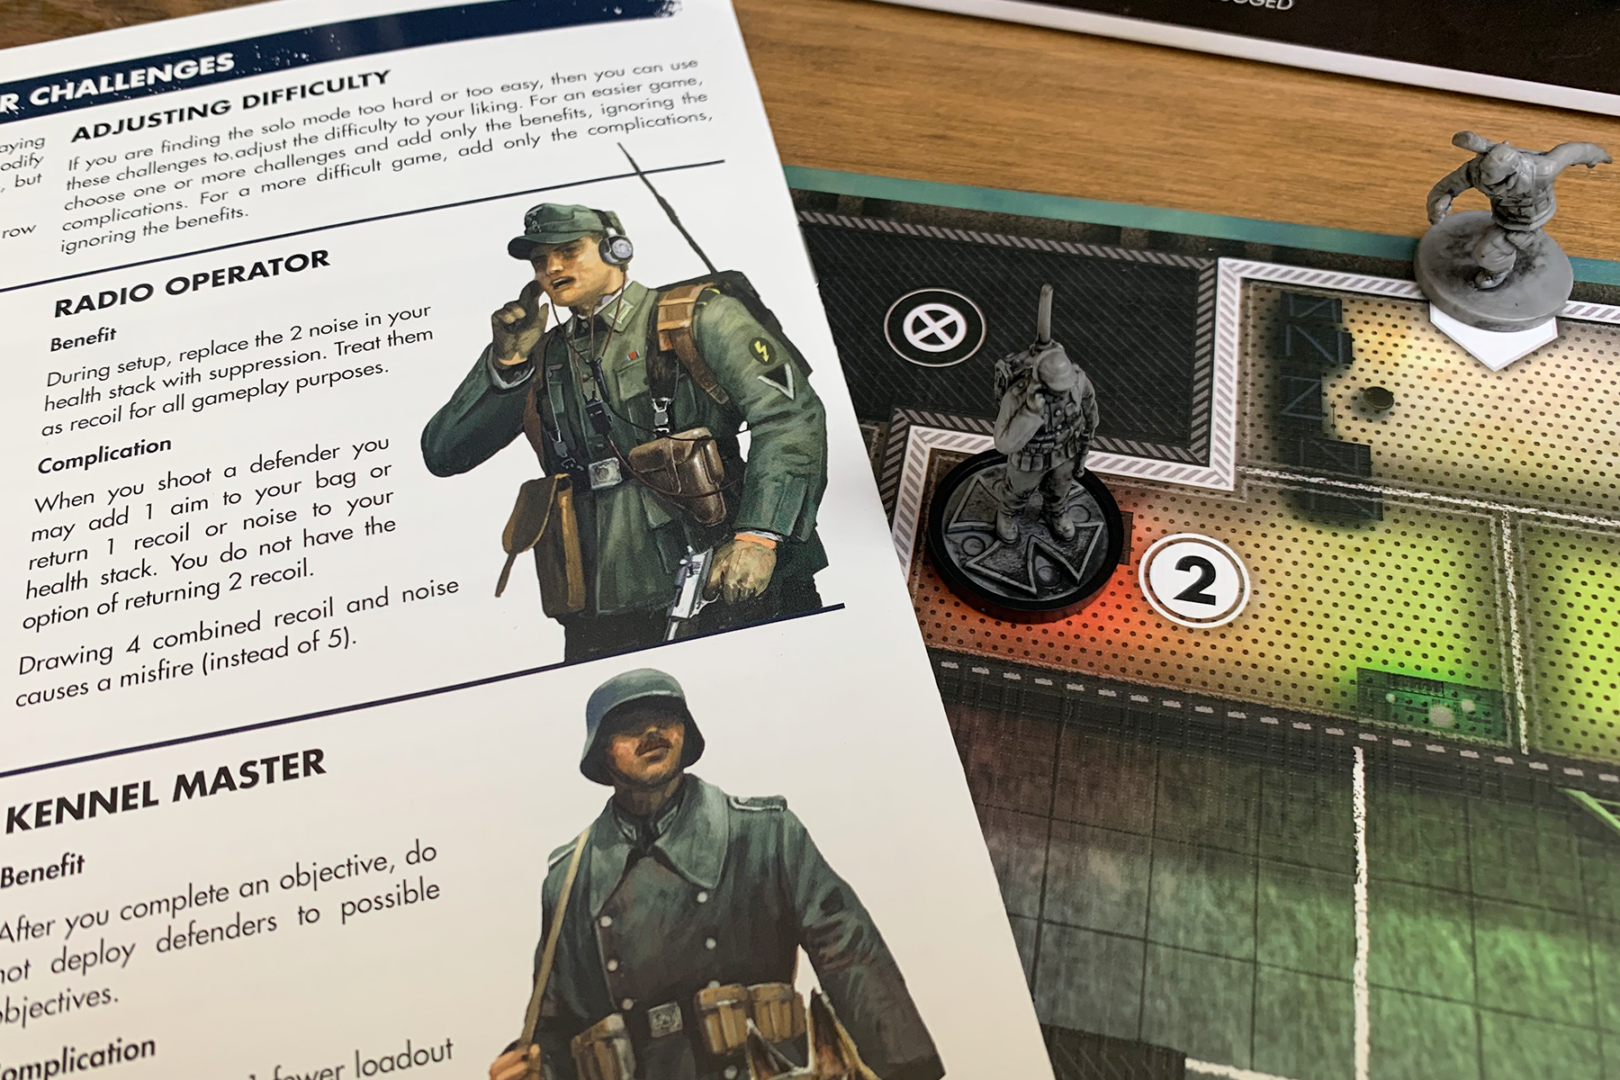
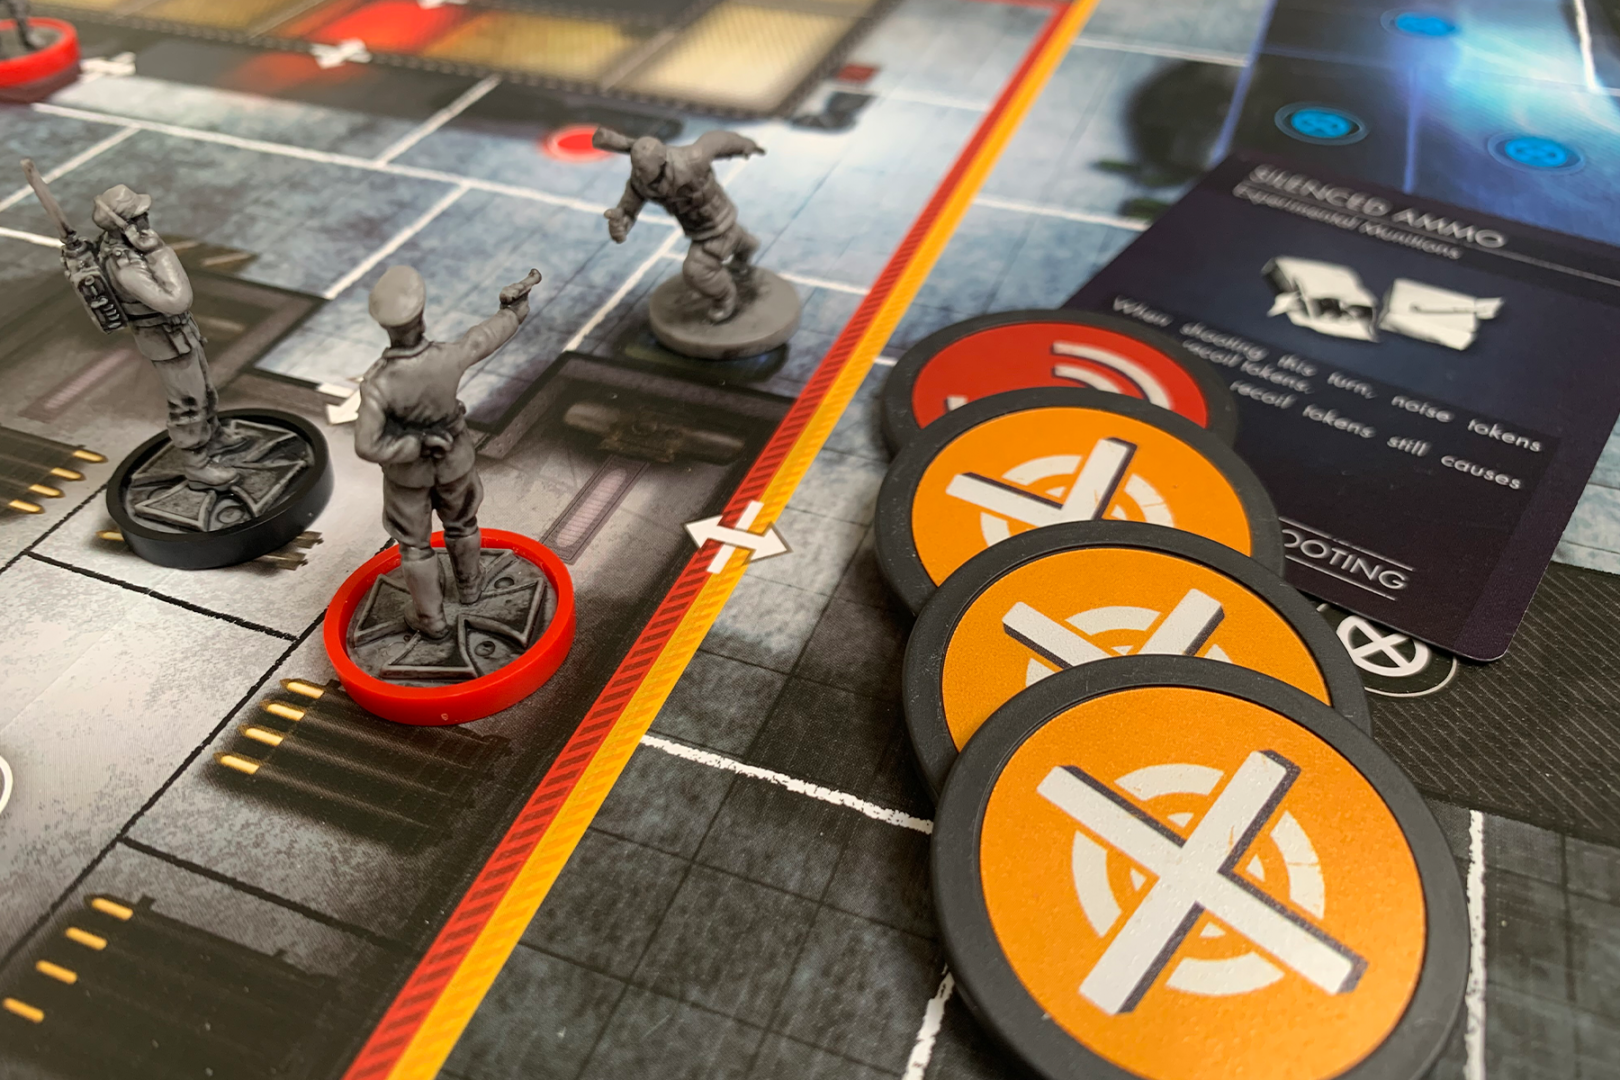
This complication reduces the number of tokens I can return to the health stack when I shoot a defender, and makes it so a misfire is triggered when I draw 4 combined noise and recoil tokens rather than 5. I even grabbed the Radio Operator miniature from the Deluxe Upgrade Kit to remind myself that I was playing with this special rule (although in the solo mode there is no difference between the officer and soldier miniatures for the defenders)
Turn 1 – The Sniper
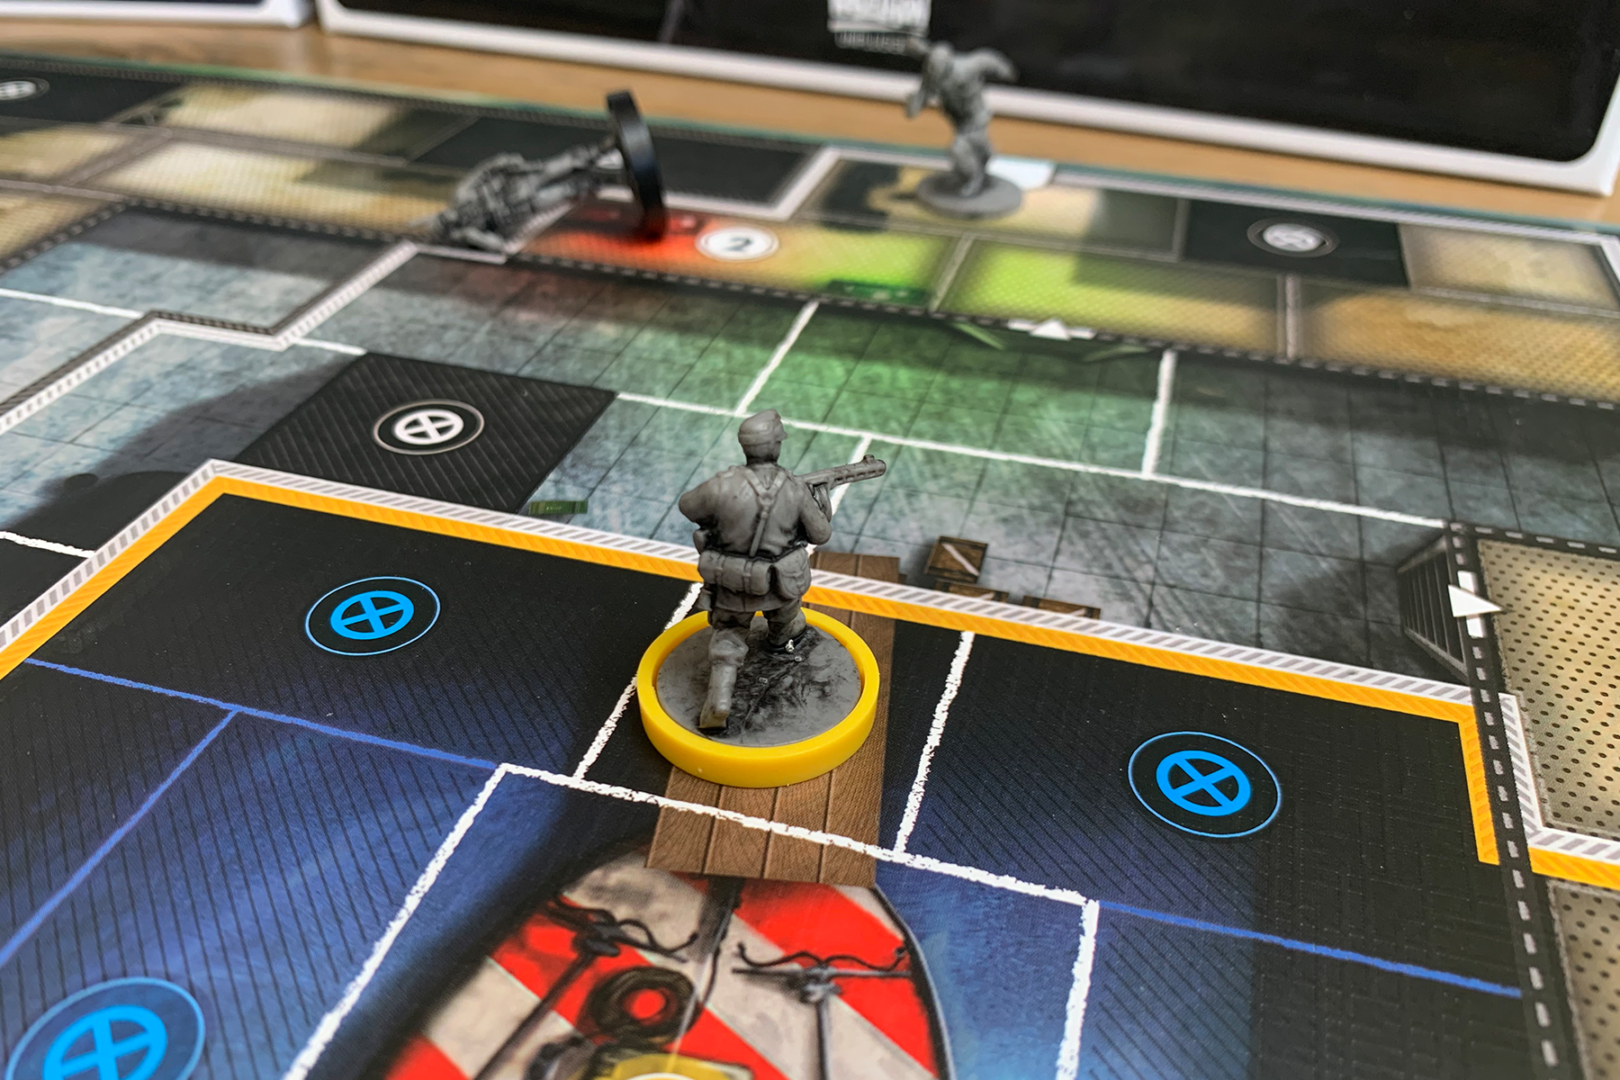
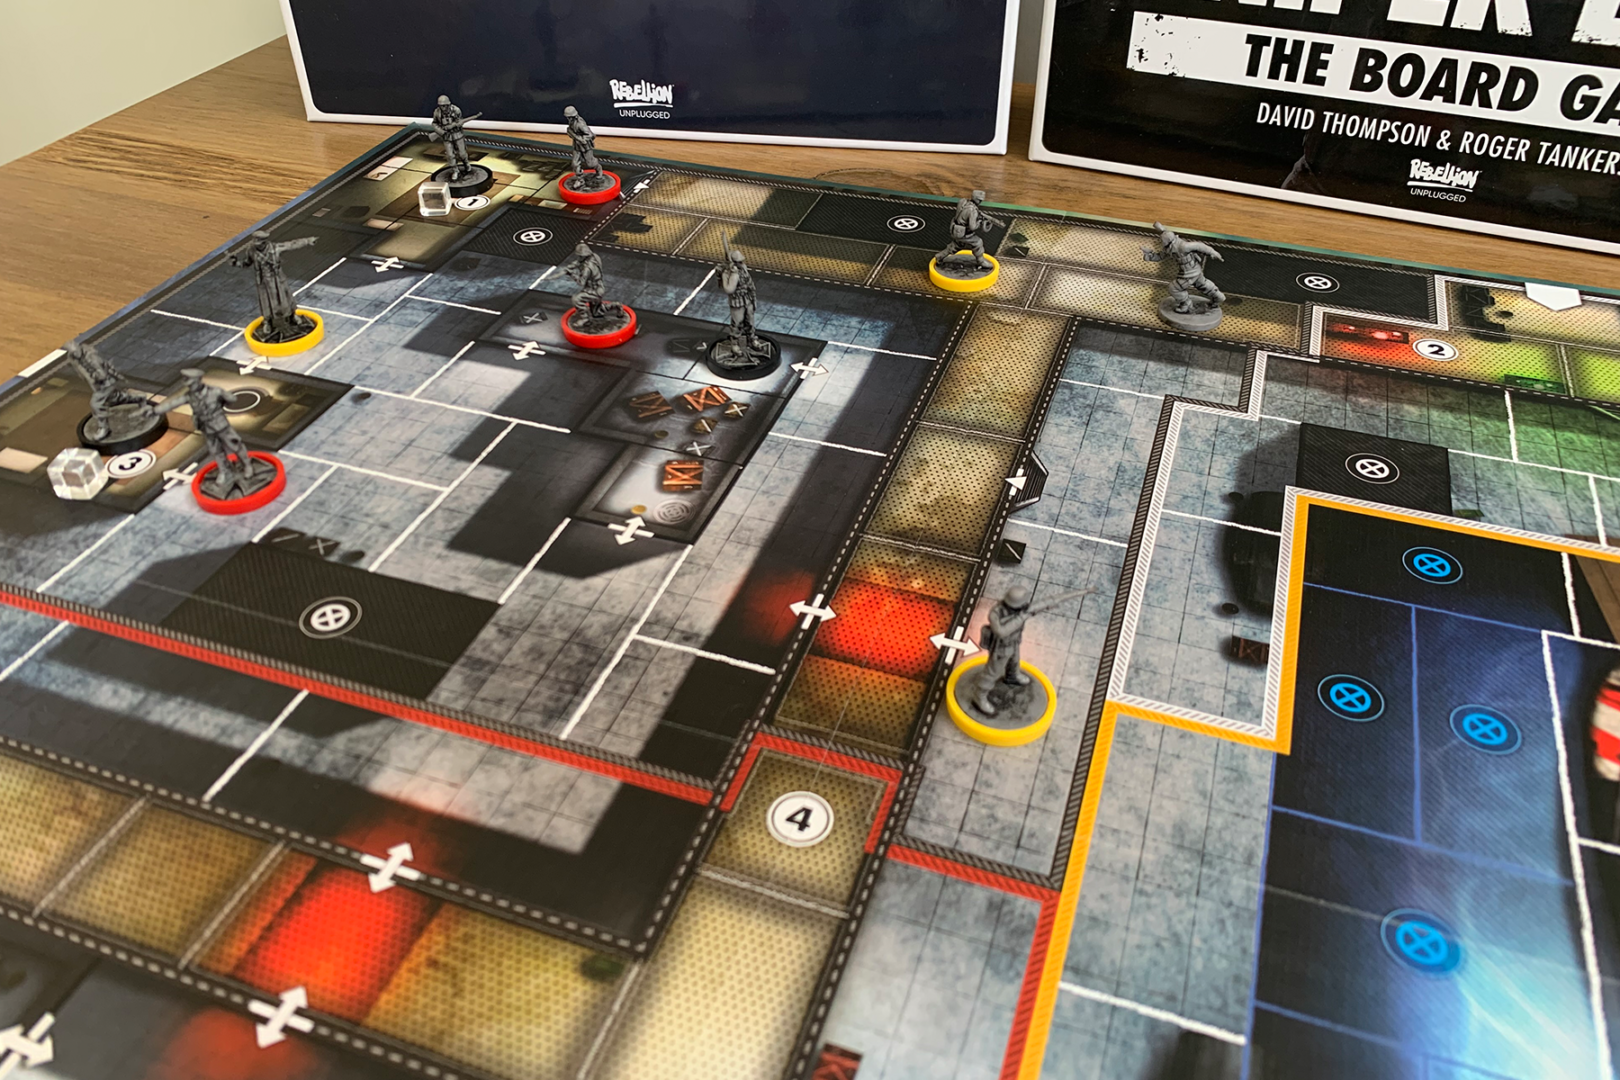
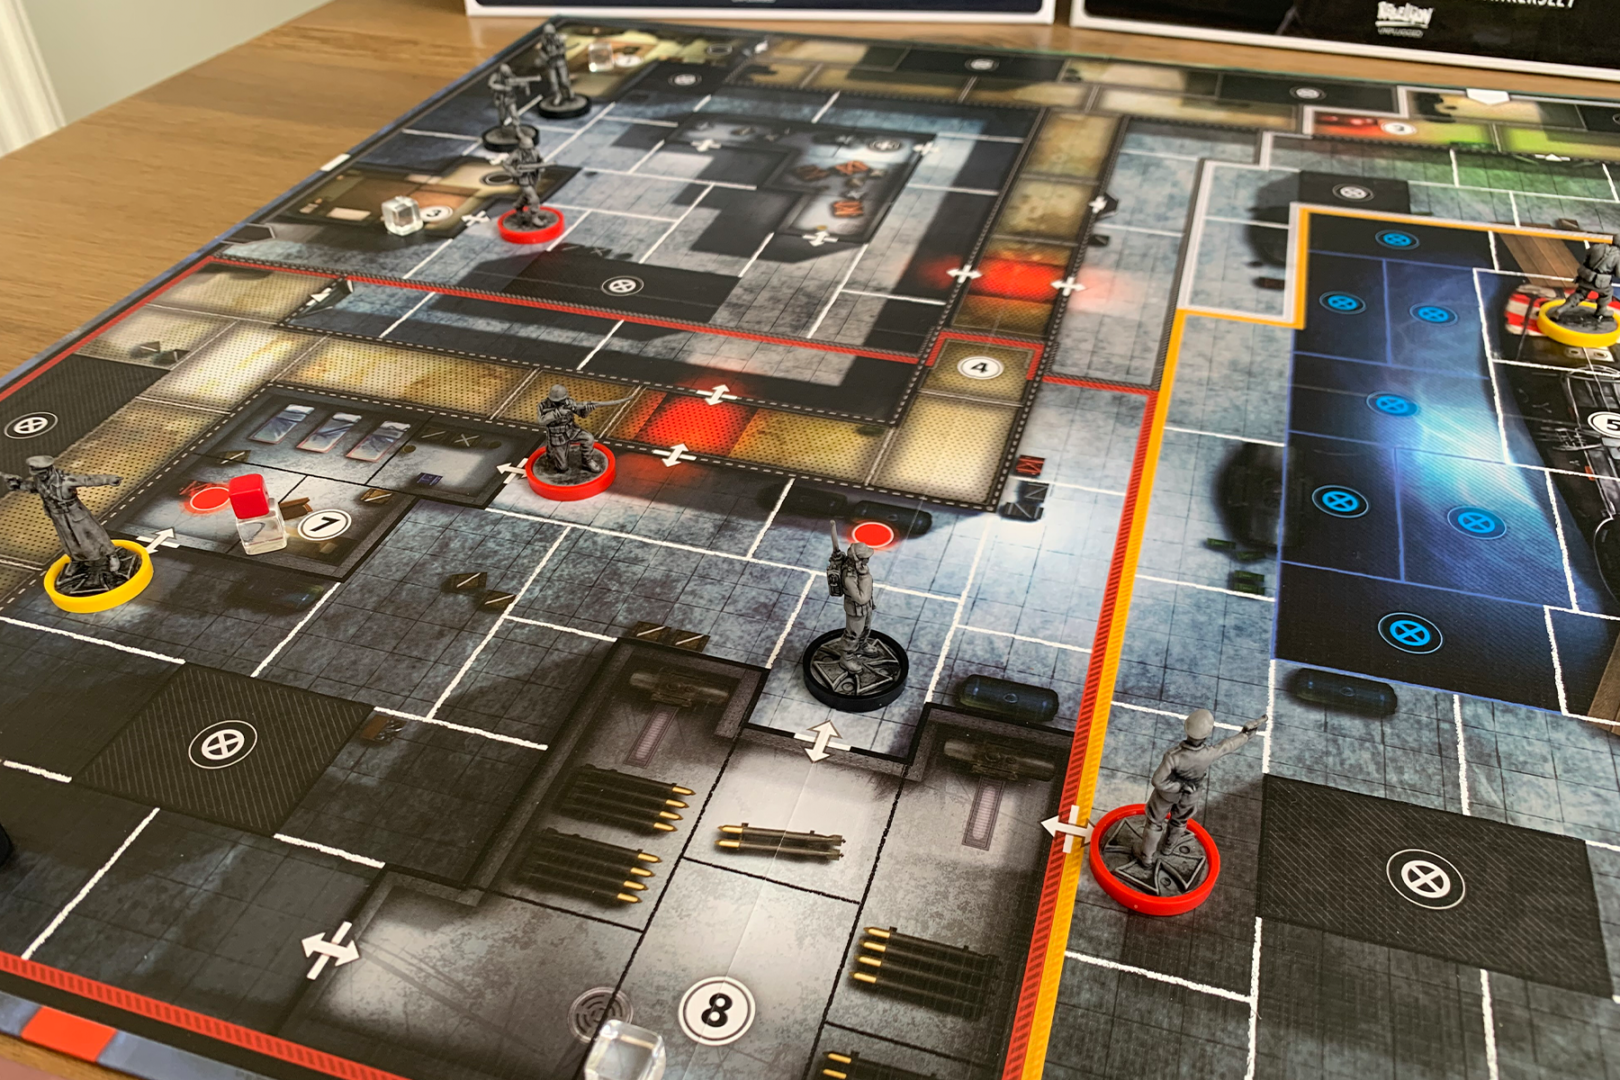
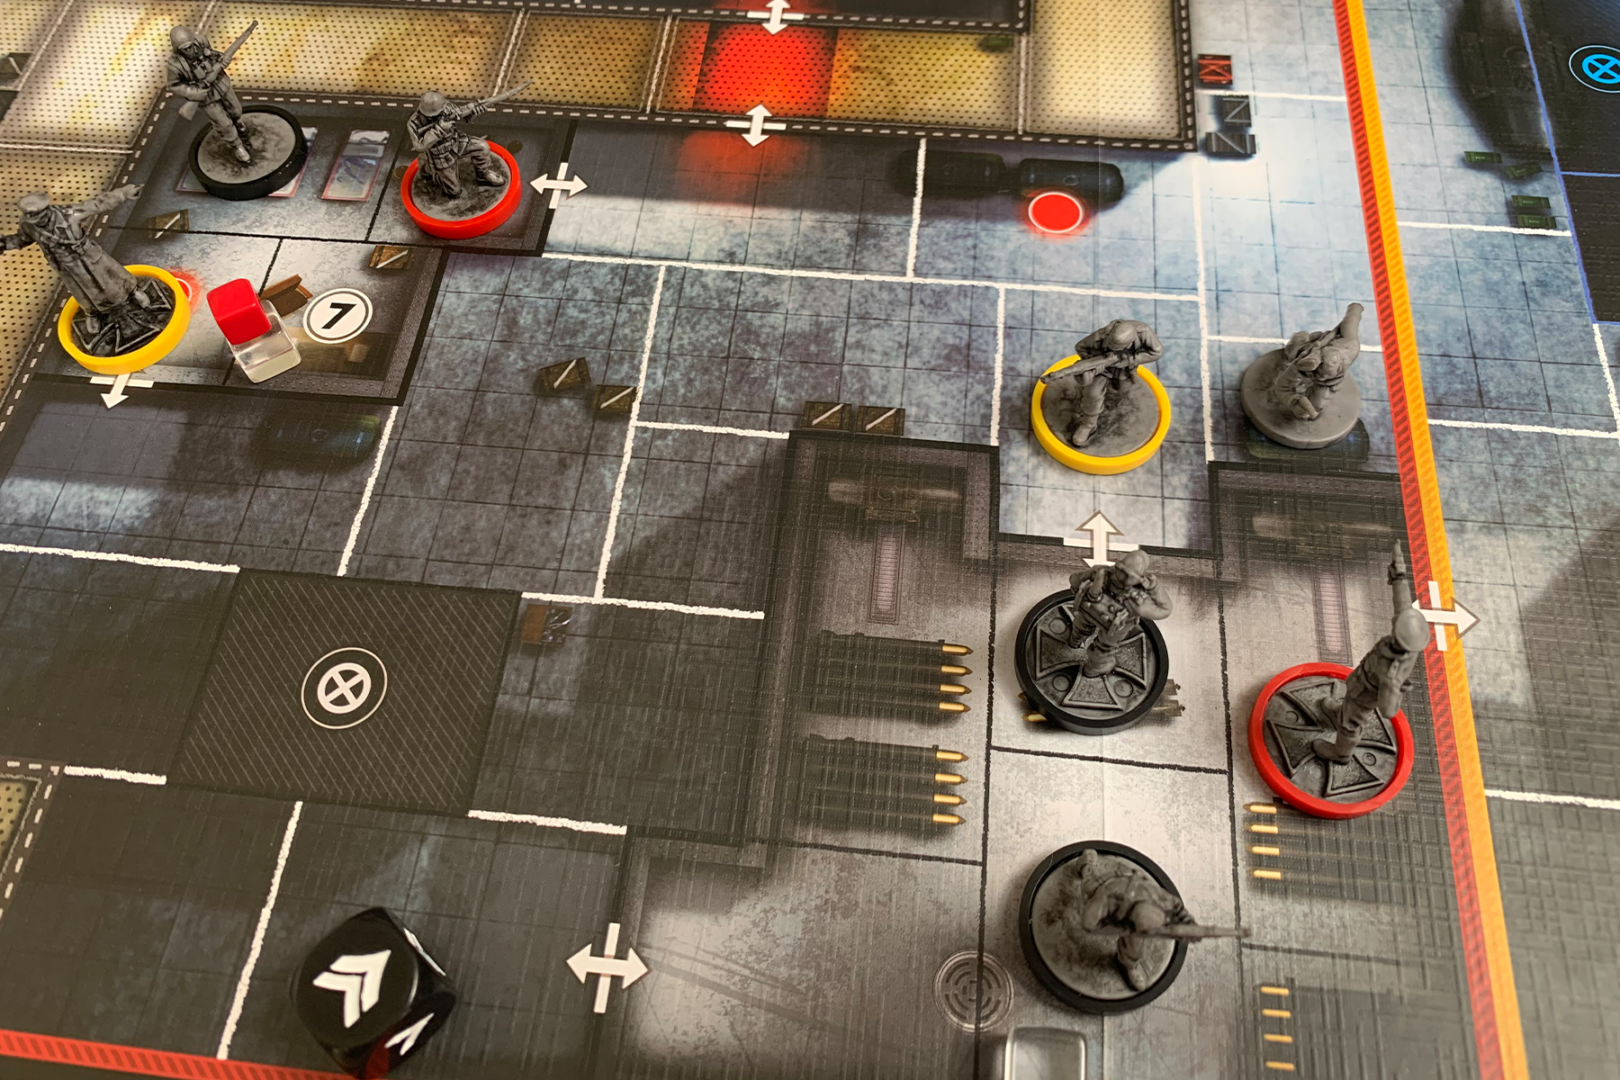
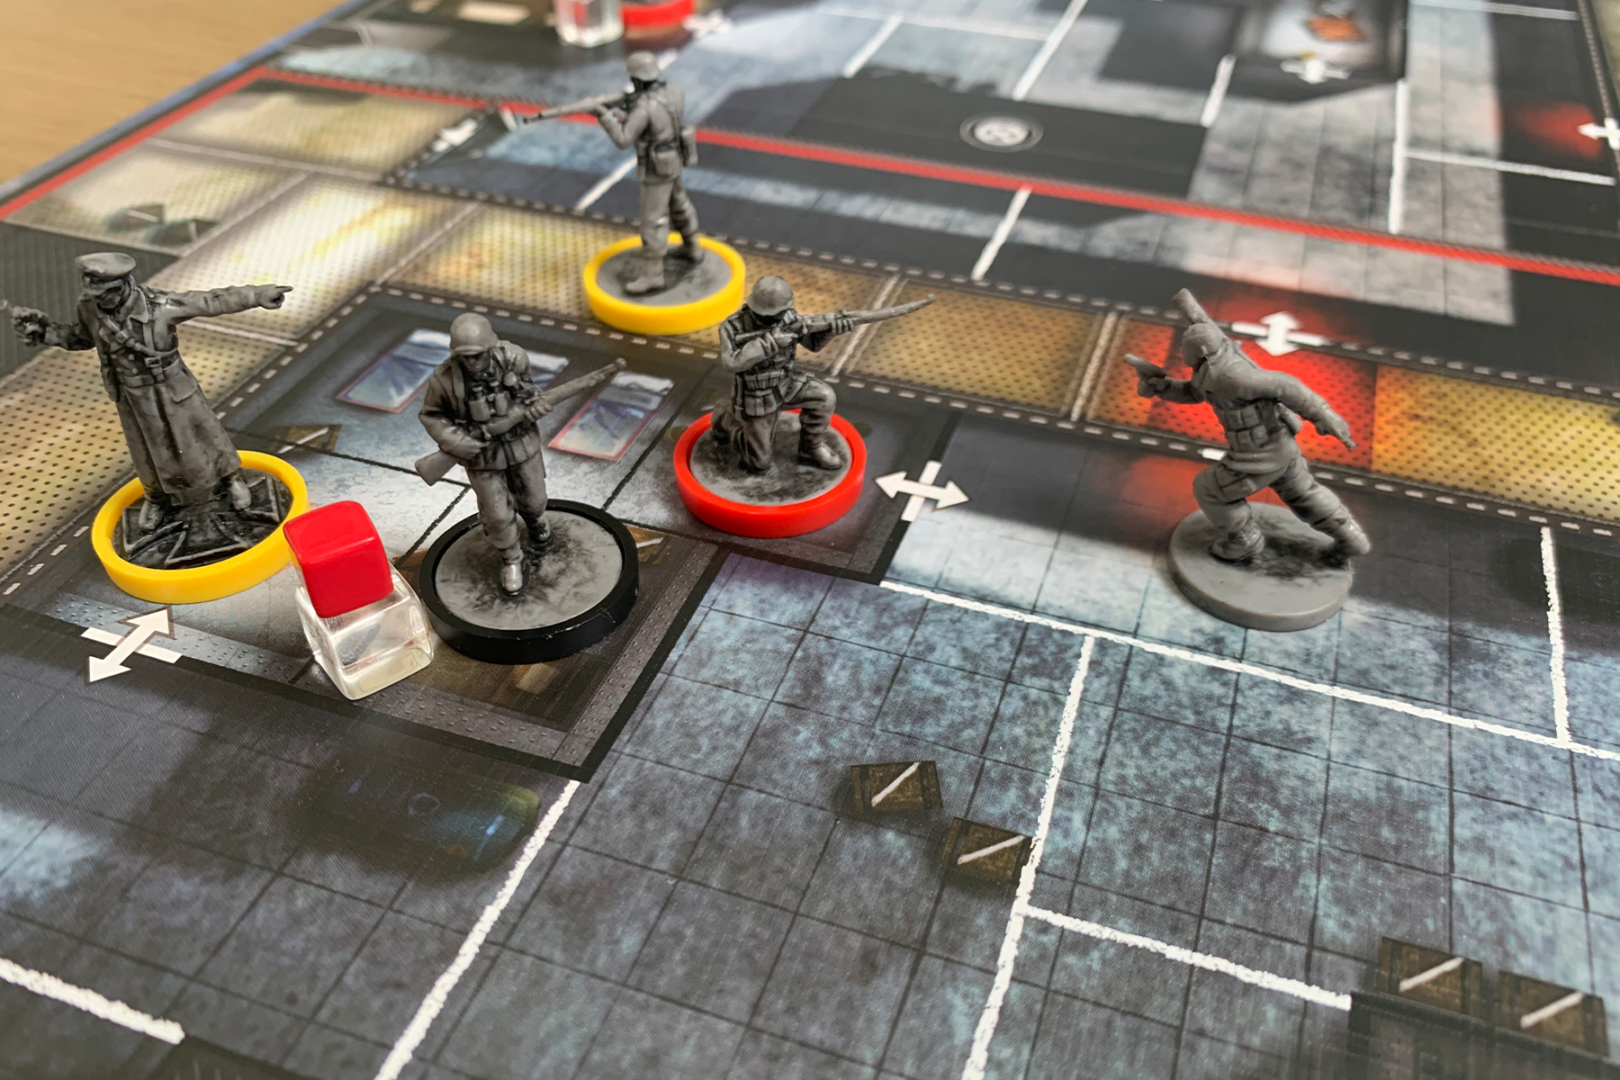
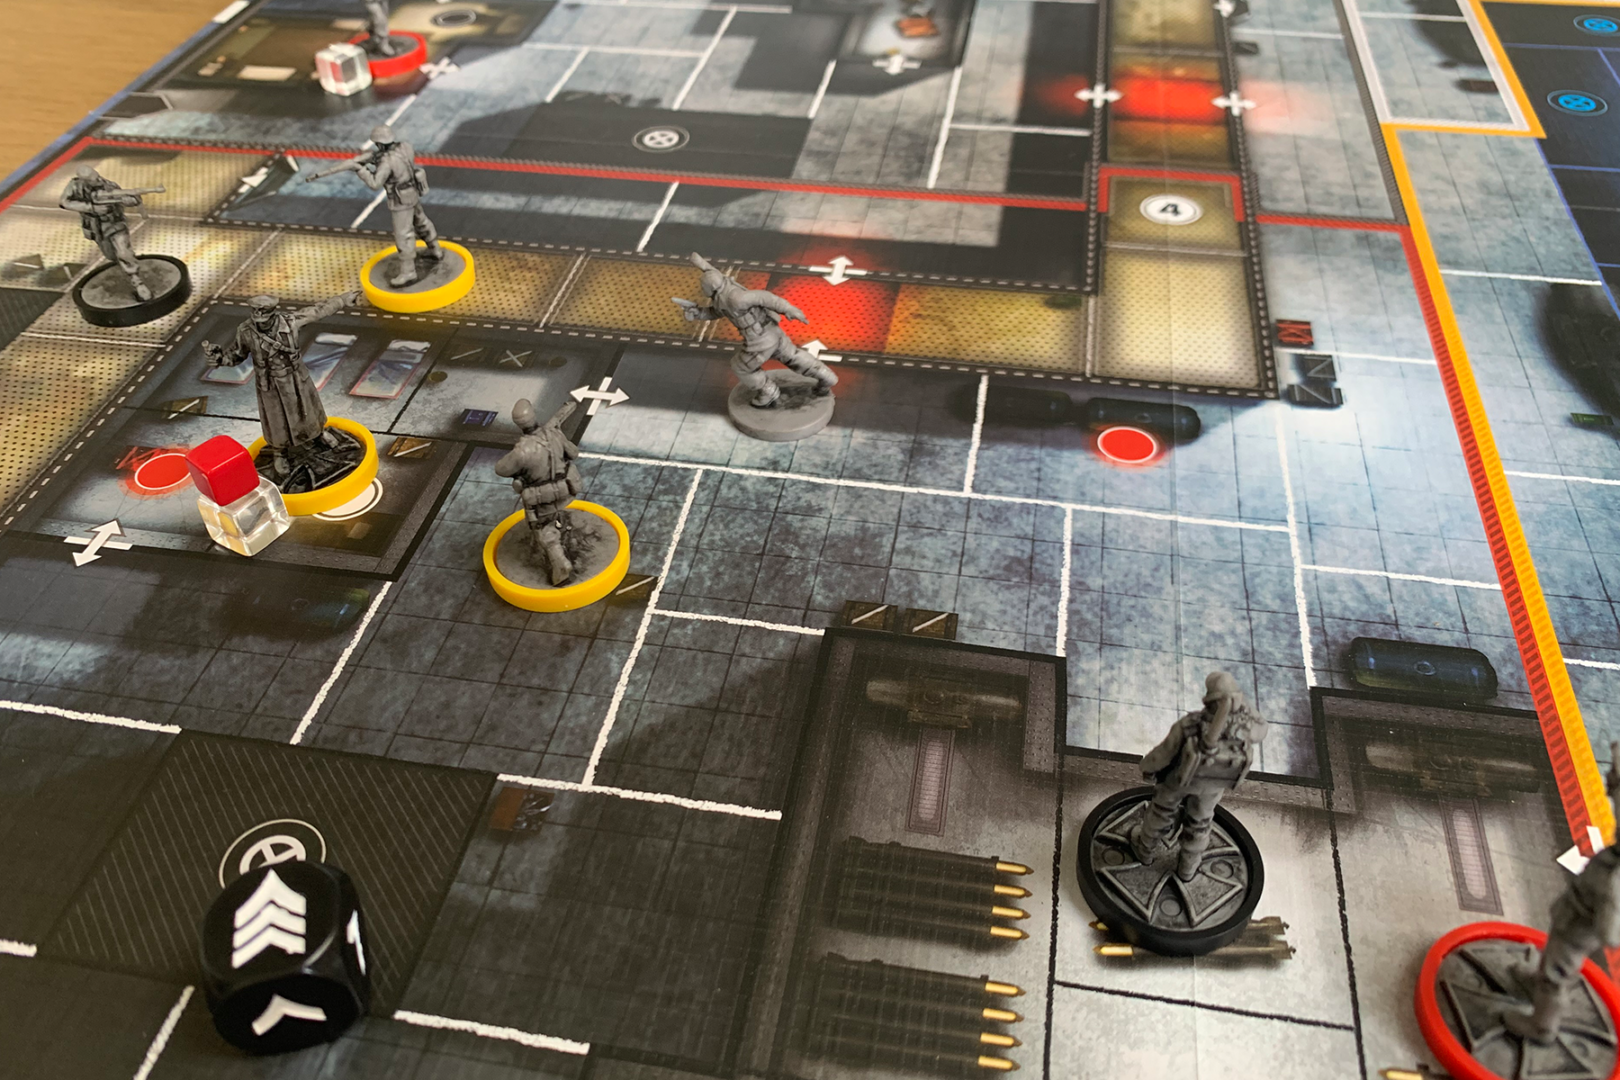
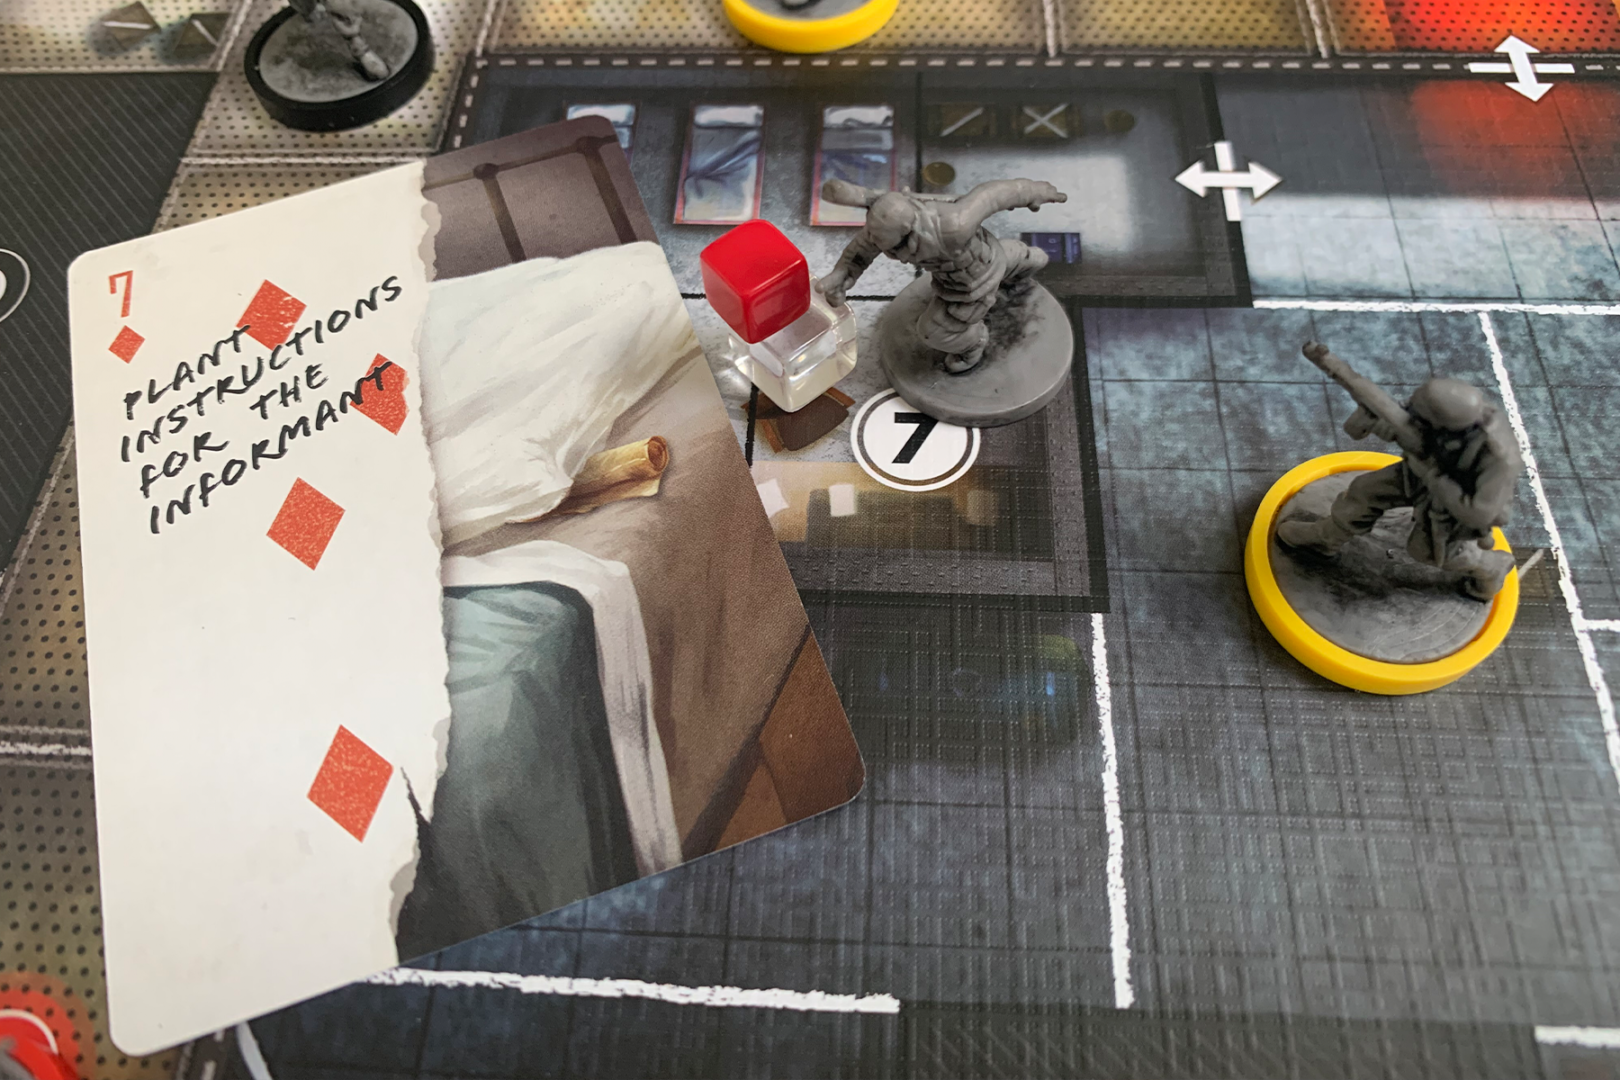
With the game set up as per the solo rules, I was ready to jump into my first turn. I was tasked with destroying the landing gear (Objective 6 in the Yellow Sector) and planting instructions for the informant (Objective 7 in the Red Sector), leaving me with the option of starting in the Black Sector or the White Sector.
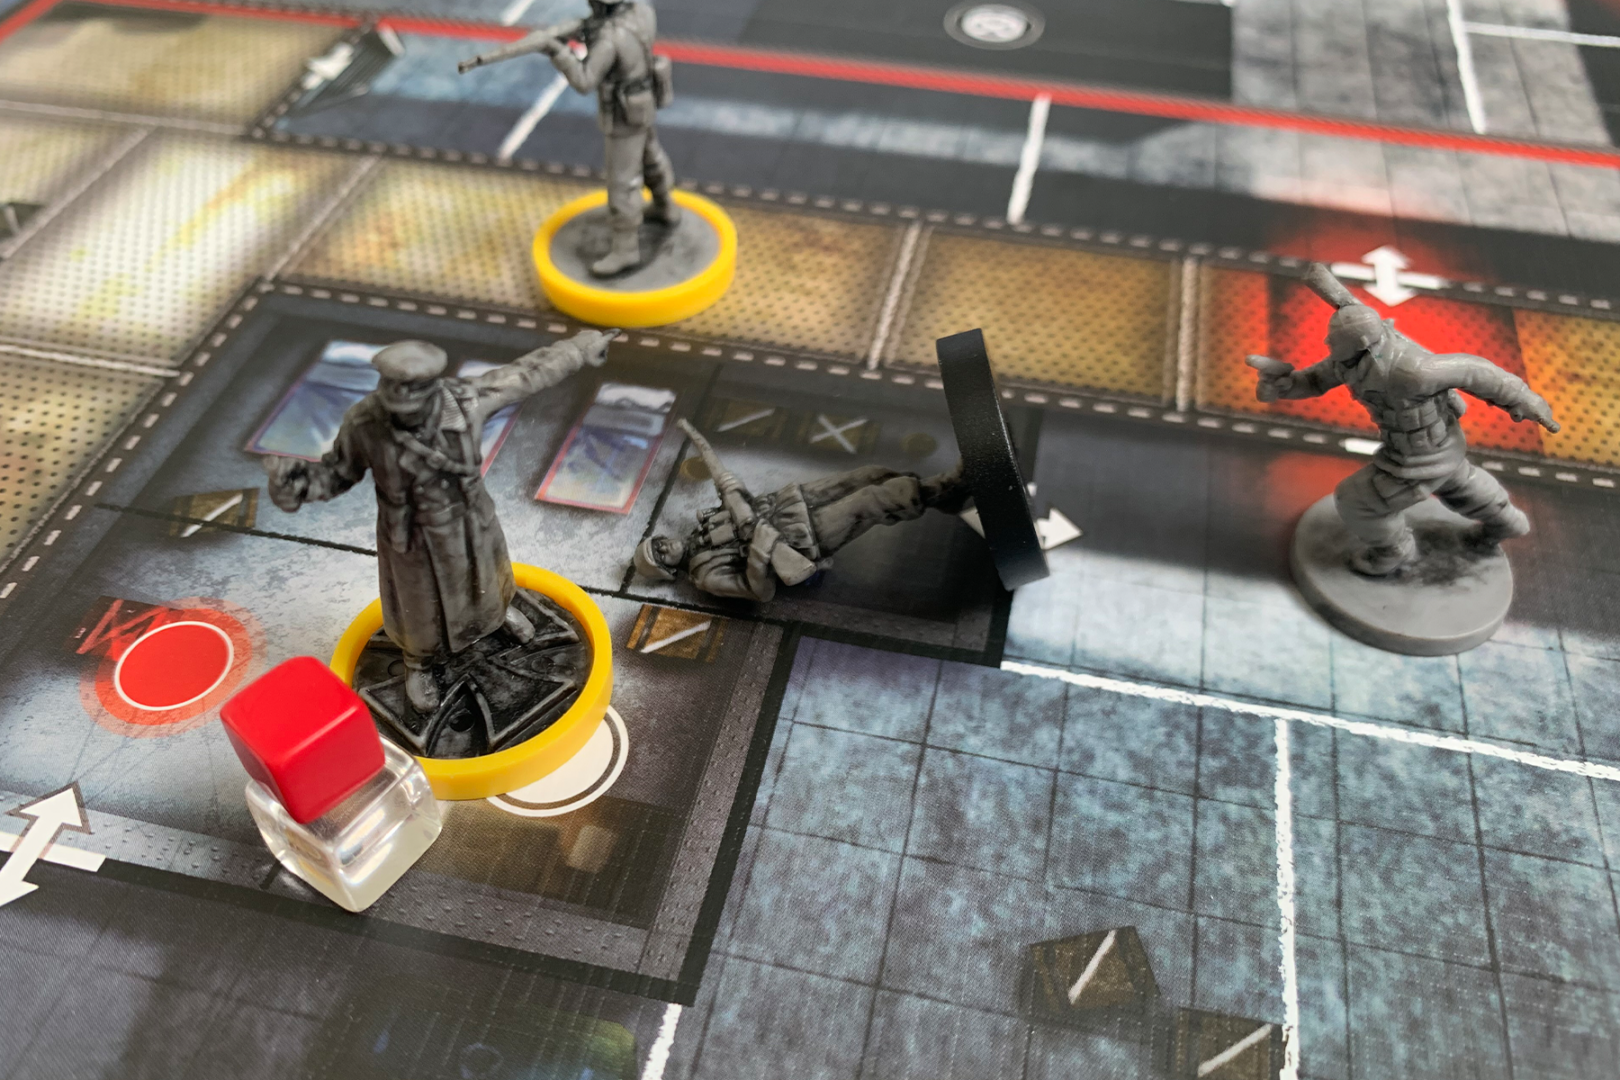
I opted for White Sector right at the top of the map, thinking I could take a cheap shot to take out the guard then skirt down the right hand side of the map towards Objective 6. I sneaked onto the board with my first action, then took steady aim and fired, opting to draw 4 tokens from the shot bag.
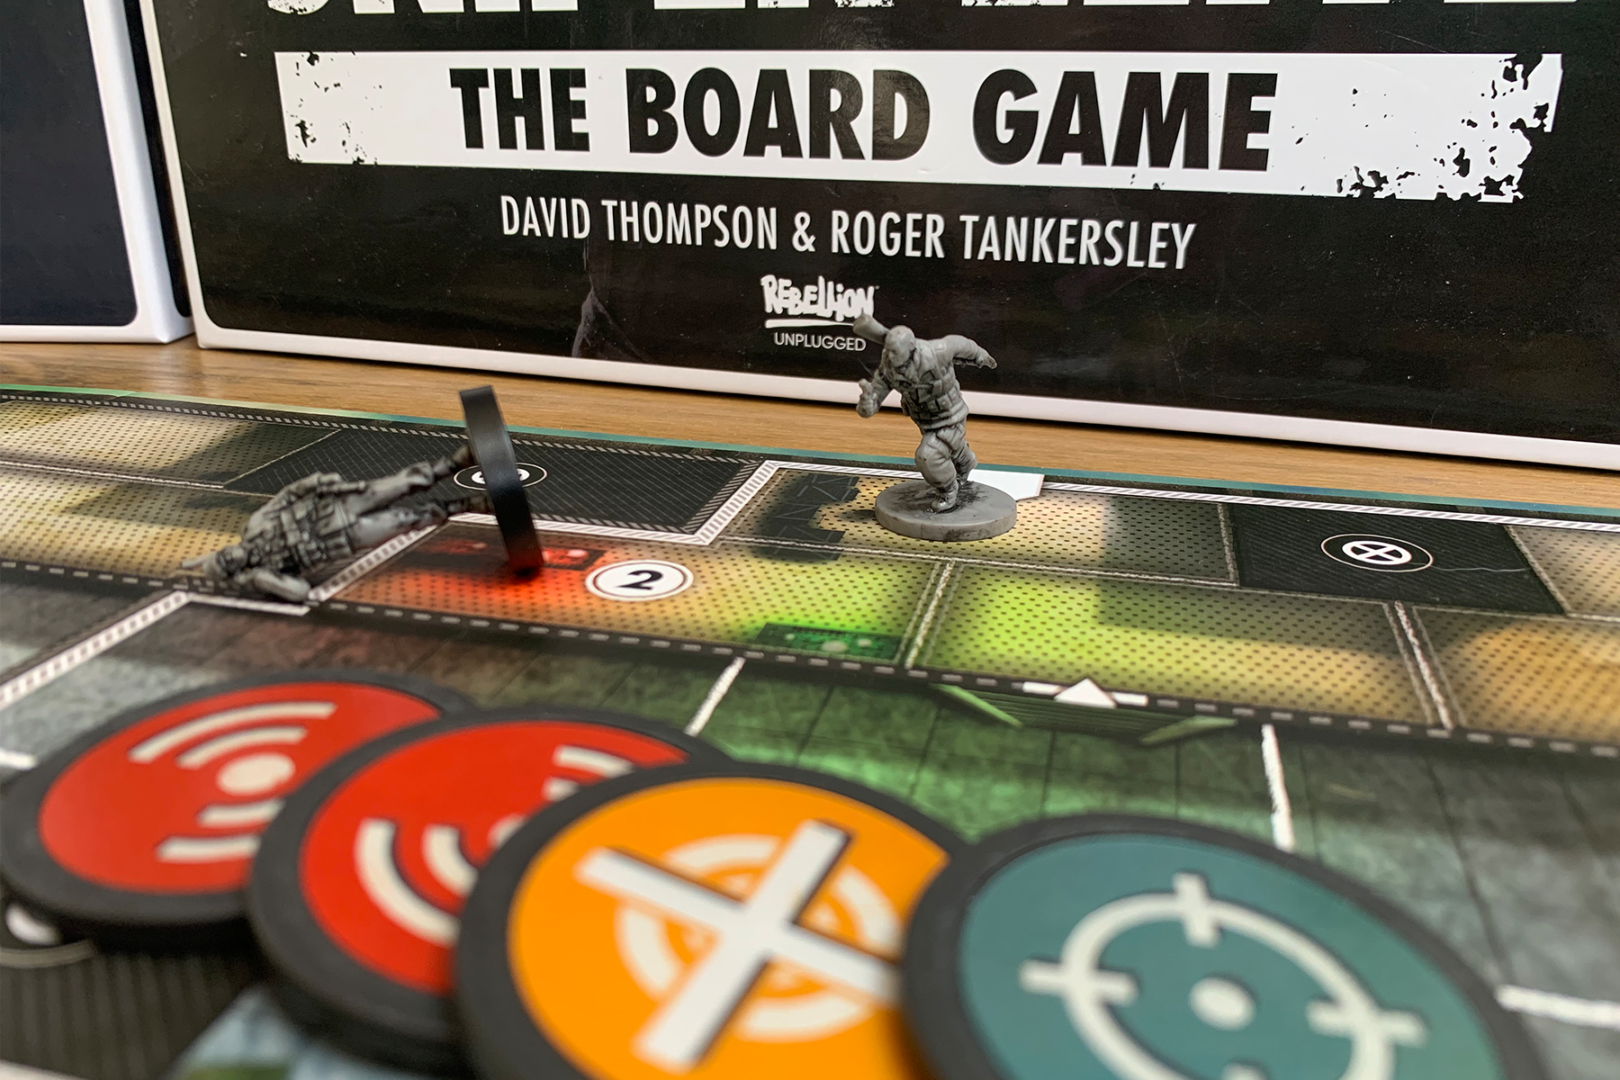
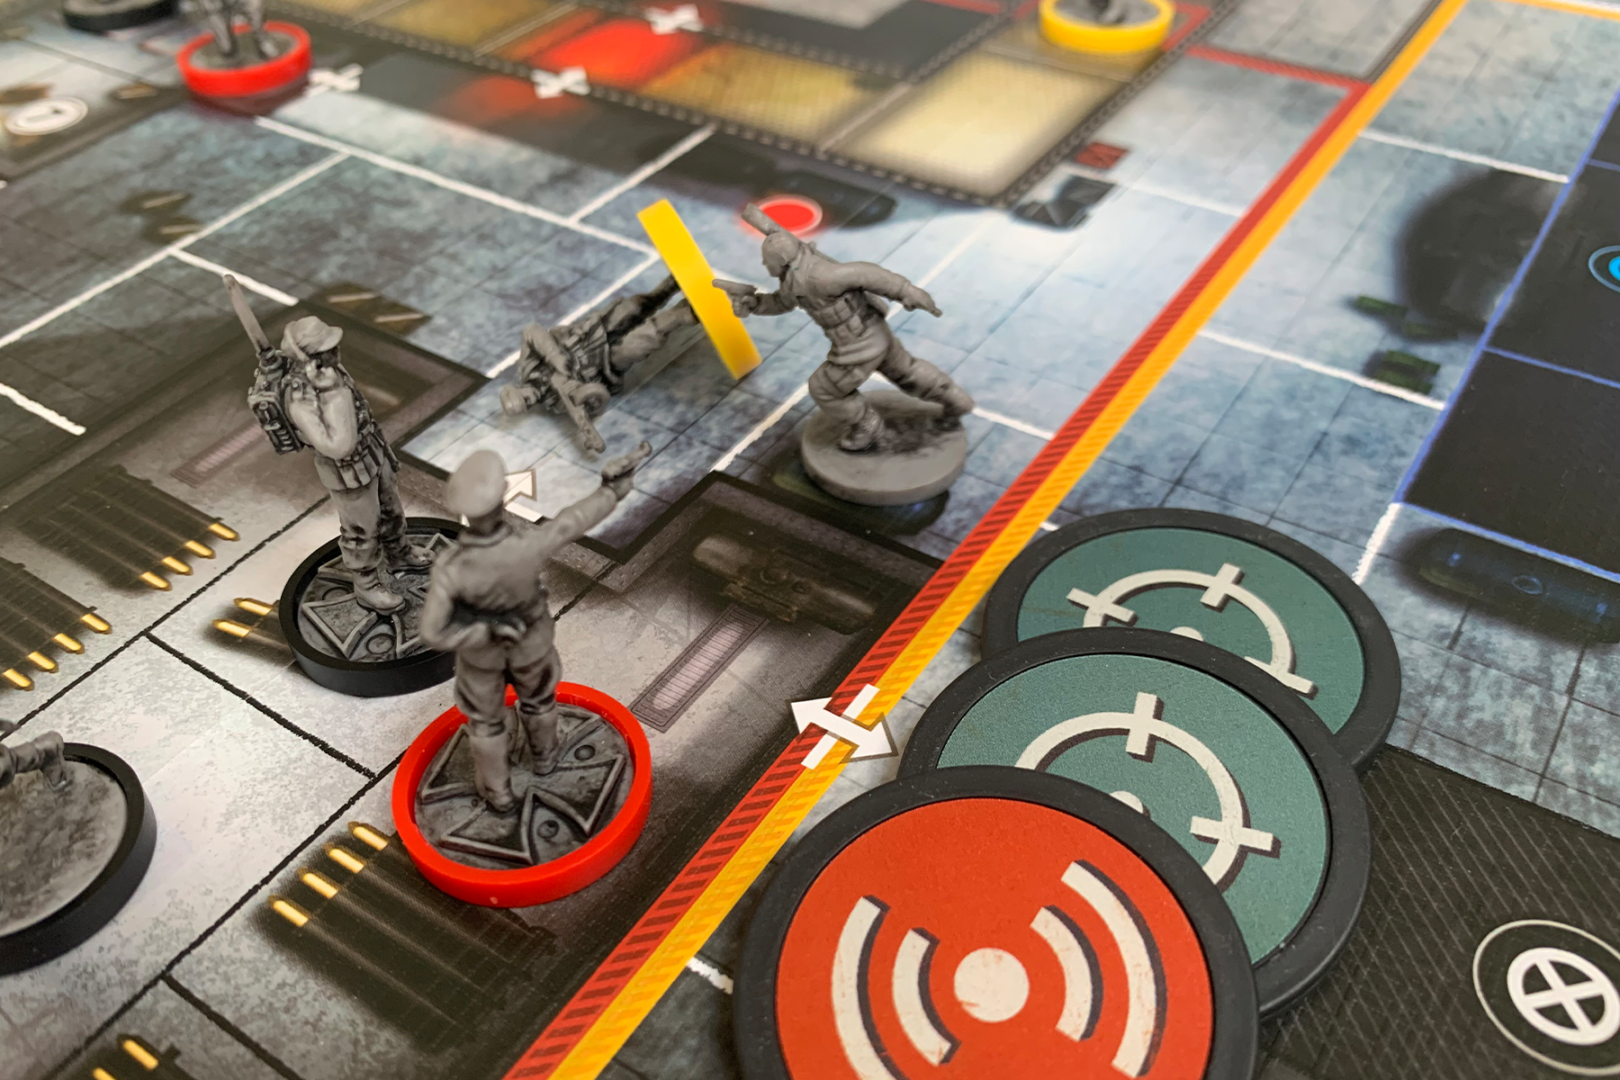
I had figured 4 was probably overkill given that the guard was only one space away – in actuality it was just enough to take out the guard, with me drawing 2 noise tokens, 1 recoil token, and 1 aim token!
If this were a multiplayer game, those two noise tokens would have been disastrous, immediately revealing my position. They’re still pretty bad in the solo game, but rather than revealing my position they cause the nearest non-targeted defender to move one space closer to me for each noise token drawn. That meant an enemy who had been happily relaxing on the boat started to make his way towards my position.
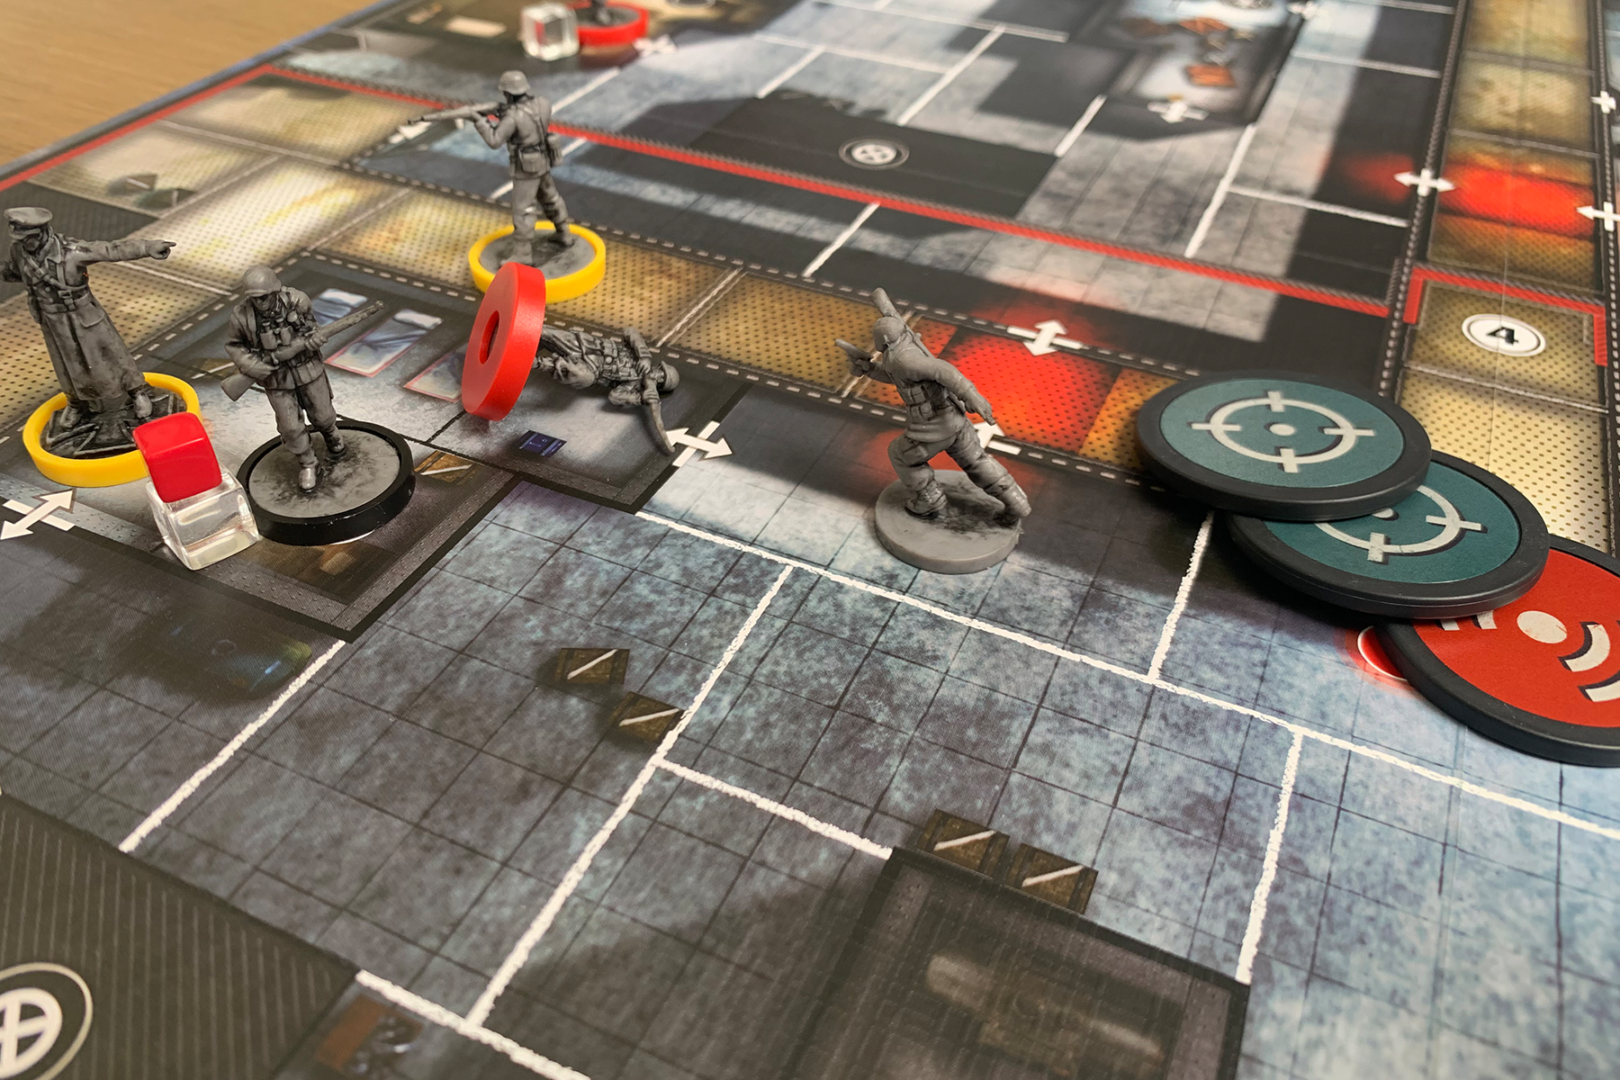
Turn 1 – The Defenders
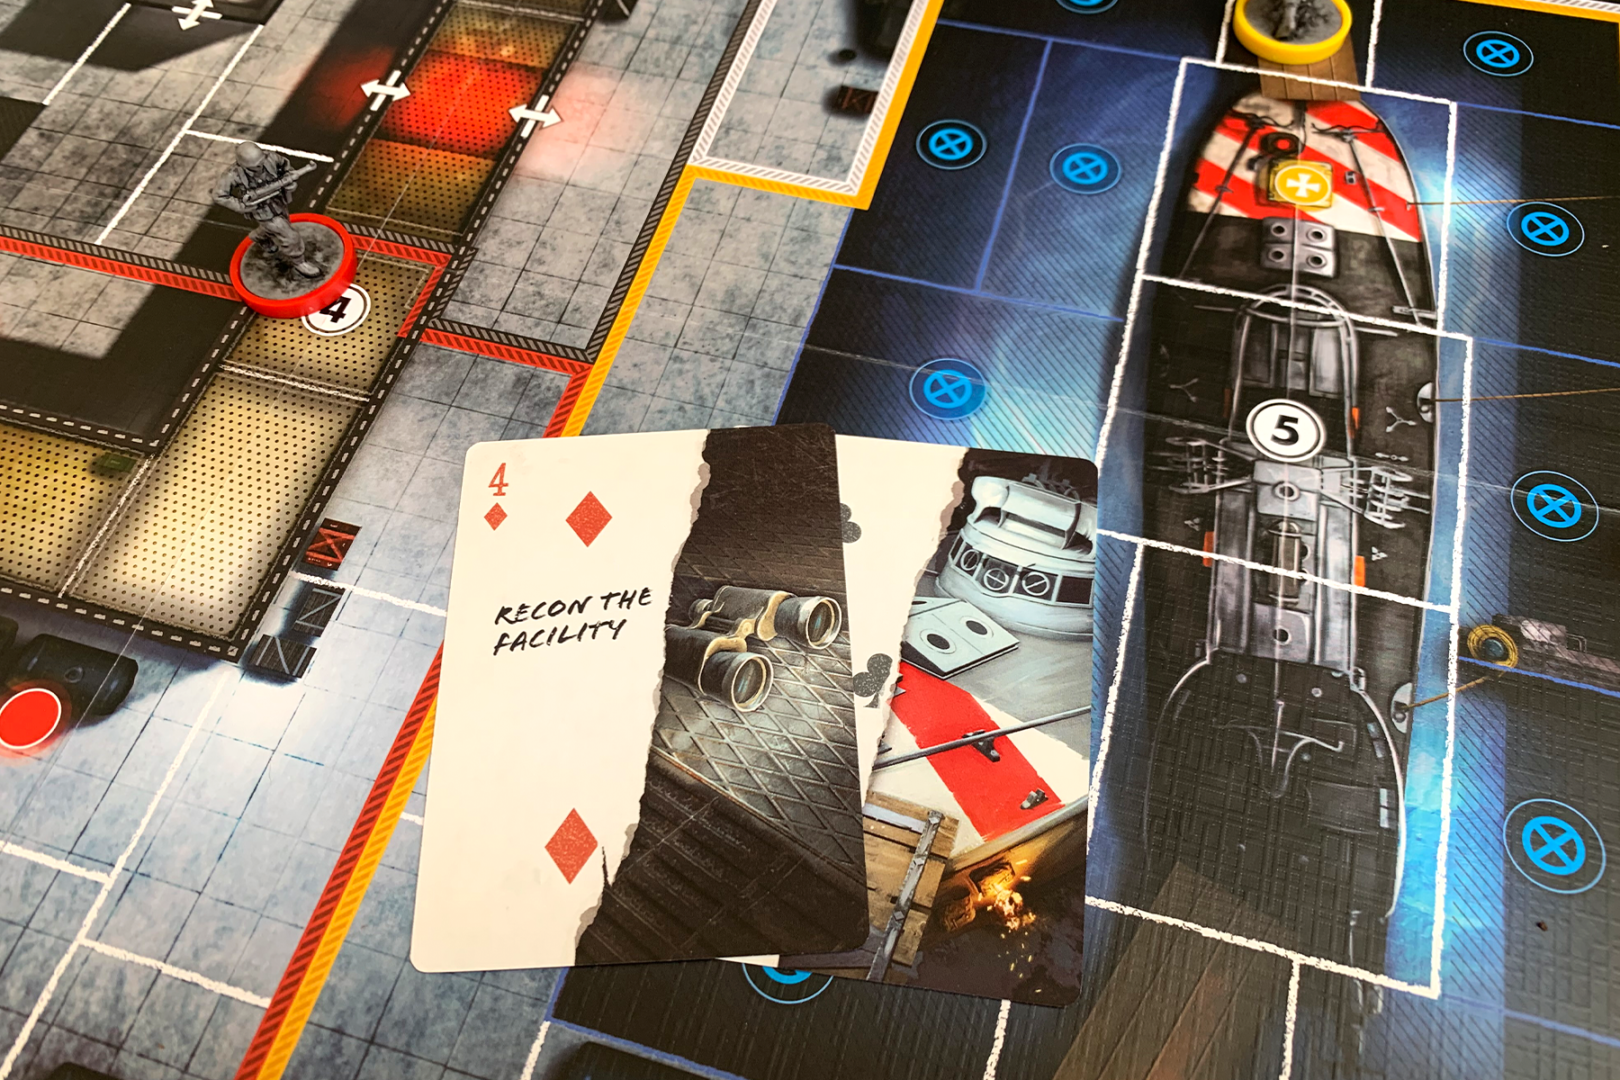
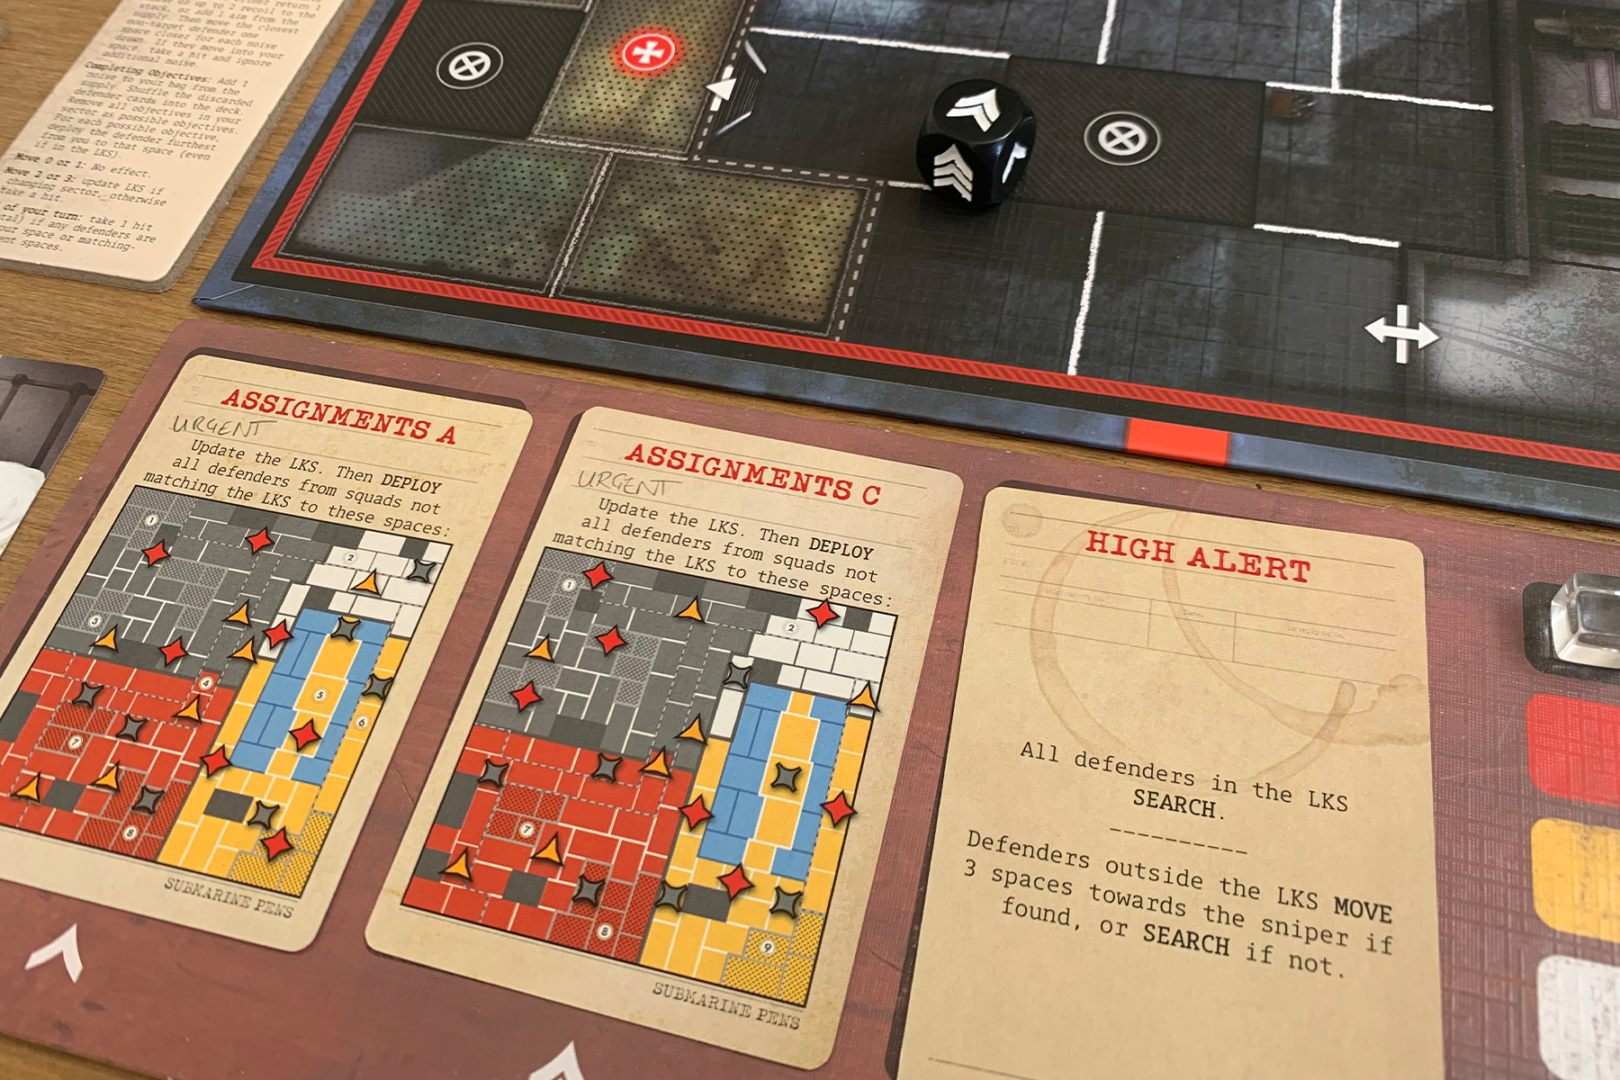
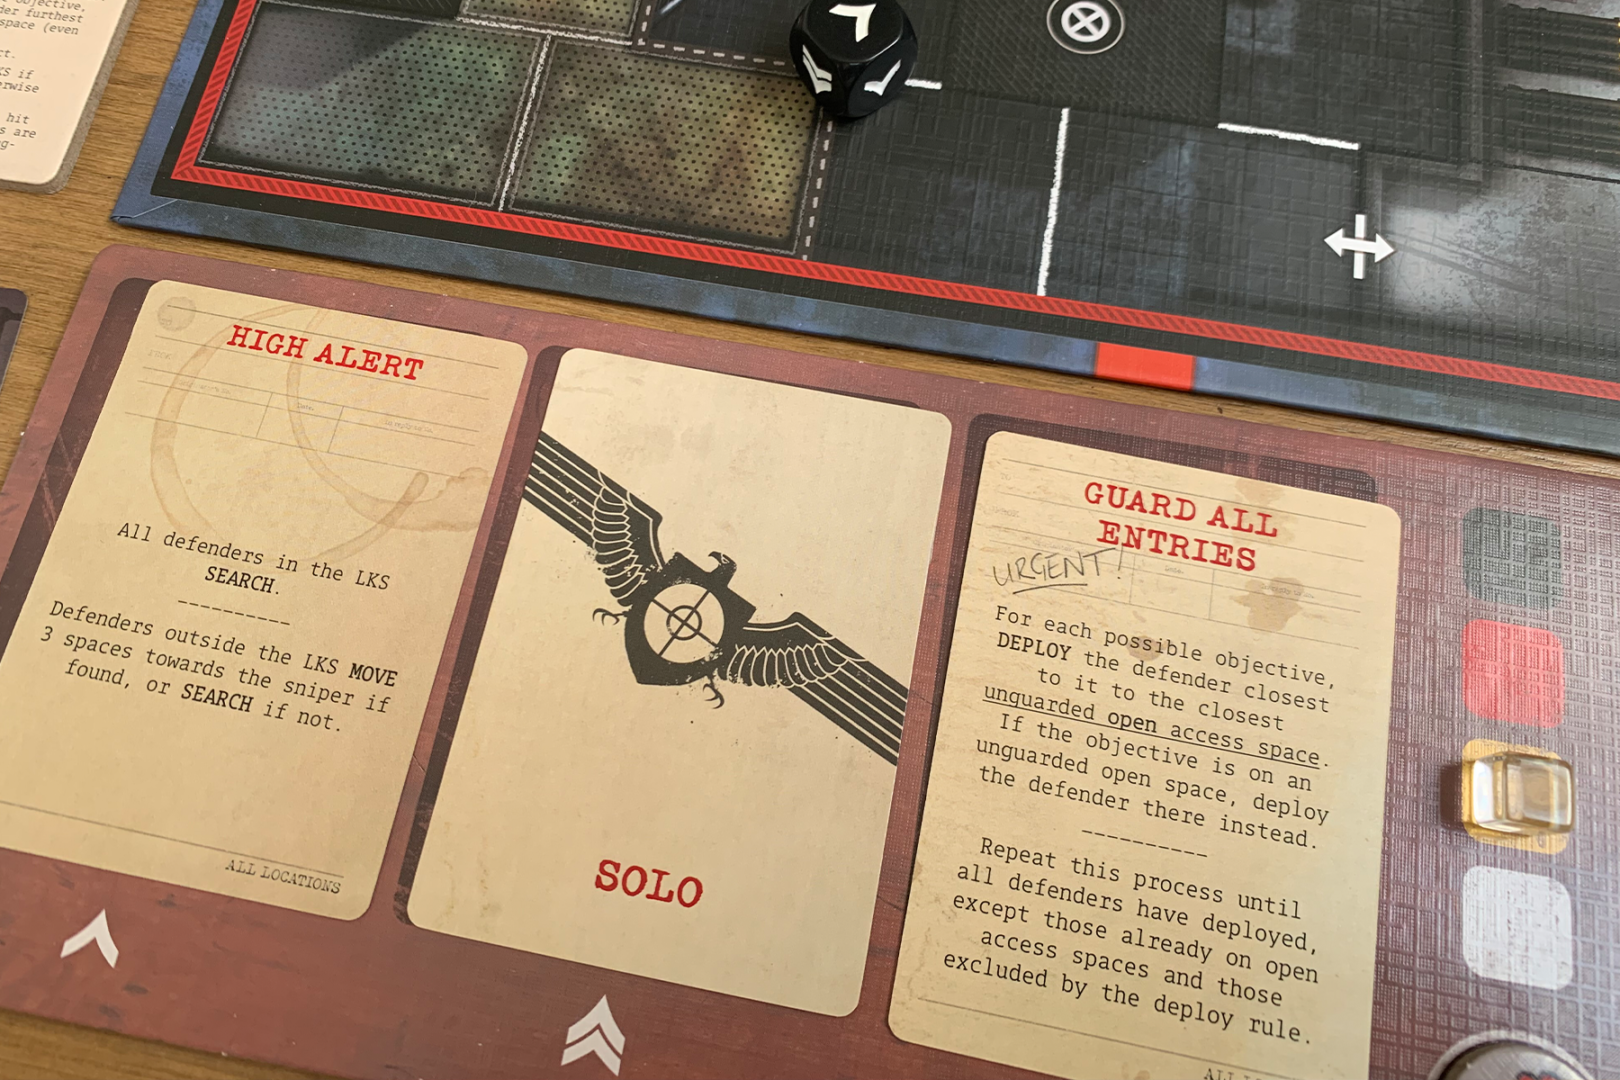
With my first turn done, it was over to the defenders. When working out what the defenders do in the solo rules, you roll the solo die and consult the solo board. The die has 6 sides – three with a single chevron, two with a double chevron, and one with a triple chevron – all of which point you towards a card on the solo board.

On the board itself you will always have three cards – two face up and one face down. This means you know some of the possible actions the enemies can take but not all of them. They’ve got some tricks up their sleeve too!
For this first turn I landed on the double chevron side, meaning that the enemies would spend the turn gathering intelligence. This saw Objectives 4 and 5 removed as possible objectives for this game, making it far less likely that they would waste time moving soldiers to those locations.
Provided Karl makes it out of this mission, he might need to check to see if there is a mole at Allied HQ!
The Defender’s turn came to an end with the soldier who had I had so expertly managed to almost miss from one space away come back onto the board, but fortunately when soldiers respawn they do so on the Iron Cross space for their squad’s colour. This meant the guard came back in the Black Sector, and wouldn’t pose an immediate threat.
Turn 2 – The Sniper
Going into the second turn, I knew that the most likely action from the enemy was to deploy soldiers into the Last Known Sector (LKS) using the Assignments Card. The LKS indicates where the enemy think you are, with some cards causing soldiers to deploy into this sector or has actions taken by guards within the sector. You can use this to your advantage to trick your opponent, just like how in the solo game you might try to trick your enemies into thinking you were heading into one sector when really you have no reason to.
I saw an opportunity to do that here, as by dashing into the Black Sector I could make the defenders think I was heading to an objective there, then dart back towards the Yellow Sector.

After my 2-space dash, I ended my turn, hoping that my bluff would pay off!
Turn 2 – the Defenders
The die was cast, and again it landed on the Double Chevron side. However, this time that card was upside down – an unknown order – so the first thing to do was flip it over.
Well, it was another assignment card, which was good news for me. Resolving the card caused all the enemies to re-deploy to Black Sector, but with an assignment card still on the table the straight-shot I had hoped I’d have to my first objective was not quite as open as I’d hoped.
Turn 3 – The Sniper
Despite having flash-backs of the almost disastrous shot I started the game with, I decided to start this round by taking a shot at the soldier beside me, again opting to draw 4 shot tokens. What could go wrong, right?

This time things went much better, an almost perfect shot to eliminate my closest threat, then a quick dash back the way I came to try and bamboozle my AI opponent.
Turn 3 – The Defenders
Annoyingly, the enemies were wise to my bluff and hit me with another Assignment card. To make things worse, I hadn’t considered that the most likely card they would get would mean an enemy soldier would be deployed directly onto the space I was on, causing our hero (me) to take a hit.
At the end of the turn the eliminated soldier returned to the battlefield in the same sector I was heading towards, no doubt eager to cause more trouble.
Turn 4 – The Sniper
Having learned from my previous turn, I decided to take a look at the Solo board and see what the enemy might do on their turn. The double chevron was an unknown order, but I could see that the most likely result was that defenders in the LKS would search, which would be bad news for me in my current position.
When the enemy uses the search action, they’ll deal a hit to you if you are within two spaces and in line of sight of the unit that is searching. Quite often the card will also make other soldiers move towards your position if you are found with a search, which can mean even more trouble.
My plan had been to sprint into yellow sector and get into position to grab that objective next turn, but the guard who had just respawned on the boat posed a problem – if I don’t eliminate him I could be spotted should the single chevron card for this turn be played.
The solo game is all about balancing the risk and reward. I decided to go for it, knowing that my shot bag was in a pretty good position given the two awe-inspiring shots I have already pulled off (I will hear no comments to the contrary).
My first action was to move into position, causing the LKS to update to the Yellow Sector. As my second action I fired, drawing 5 tokens to cover the 2 spaces I needed for the shot.

Ah. I’m starting to wonder if Karl is insisting on taking all of these shots with his pistol rather than his rifle…
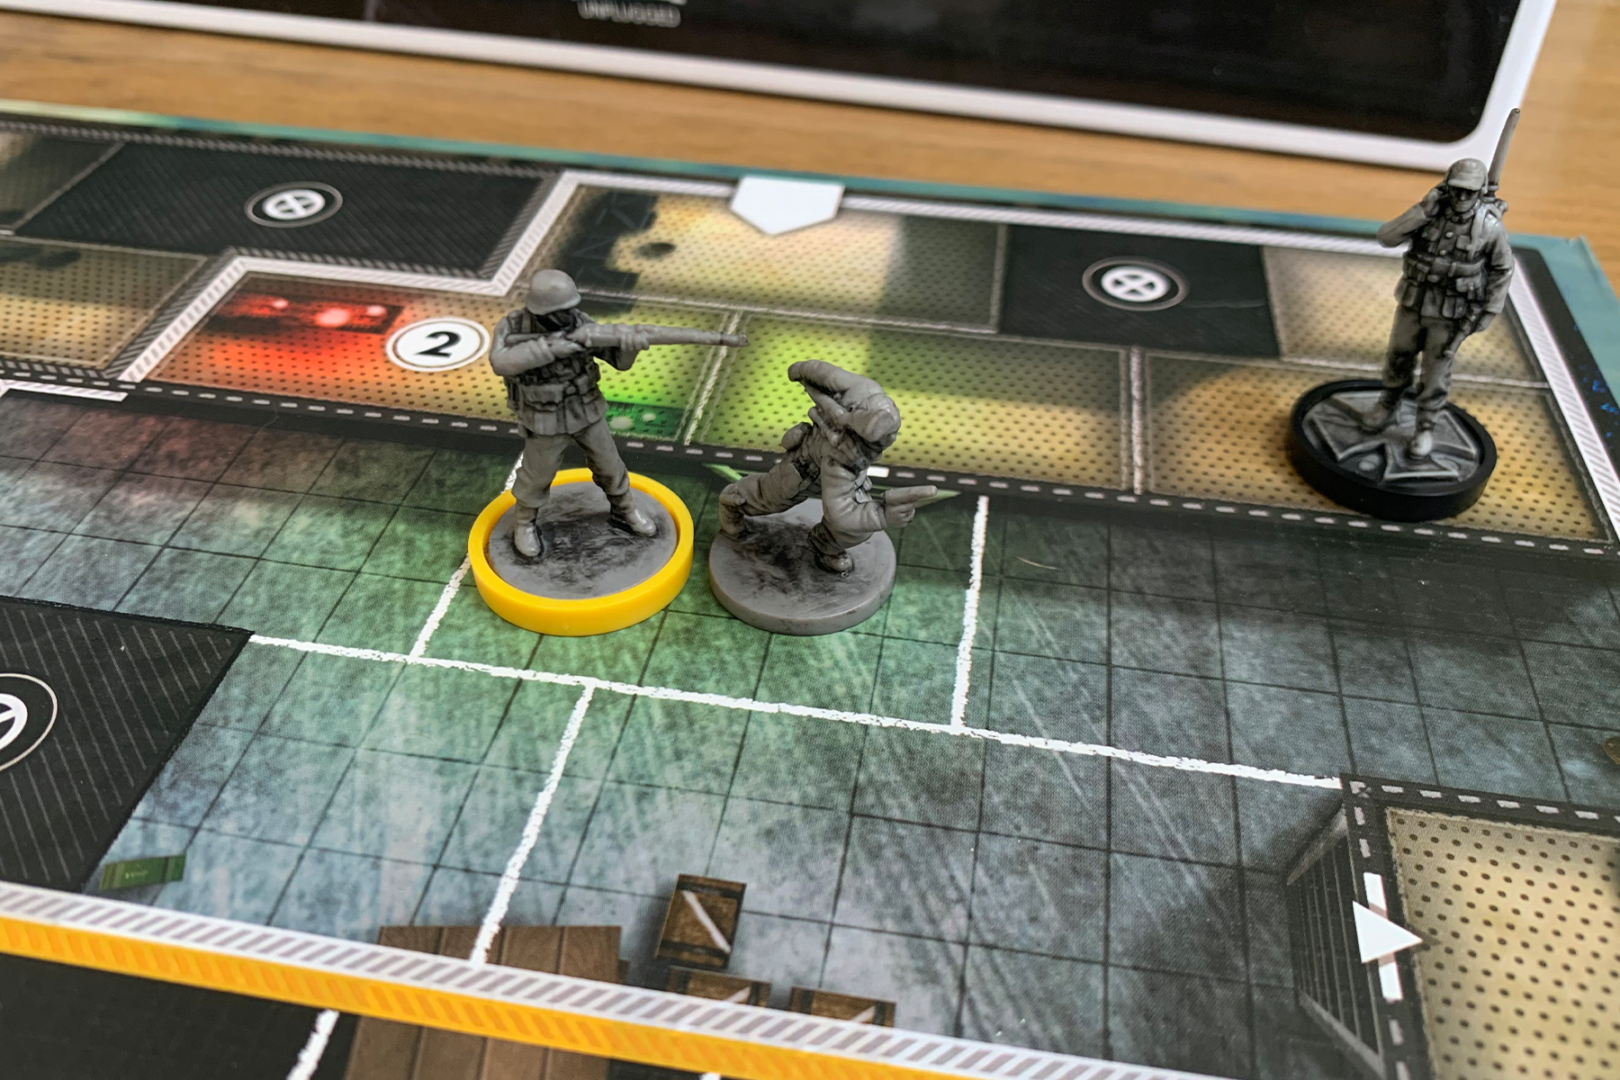
With one hit, 2 recoil, and 2 noise tokens drawn, not only do I fail to hit my target but I also attract the attention of the closest guard, who climbs up to see what I’m up to.
As my turn ends, I have an enemy on a matching-adjacent space, which means I take another hit.
Turn 4 – The Defenders
I grab the solo die, say a short prayer to the dice gods, and roll, hoping to avoid the single chevron side.
My prayers go unanswered – the guards are on High Alert. The soldier on the boat manages to spot me, probably alerted by the fact that I had just tried to shoot him, which means another hit.
With my position exposed, the second part of the card pushes the enemies towards my location, with the soldier closest to me moving into my space and dealing another hit to me. My health stack is down to just two tokens before I’m wounded – a precarious position to be in for sure.
Turn 5 – The Sniper
I start the turn by sitting and wondering why I thought adding the extra difficulty of the Radio Operator Officer Challenge was a good idea. Then, as I’m writing this report as I play, I go back and read through my failures to date.
With my morale thus bolstered, I look at my options. Shooting the guard in my space would give me an opportunity to remove a noise token from my bag, which is definitely appealing. I would only need one hit token to make the shot, but given my track record I’m not massively confident of that!
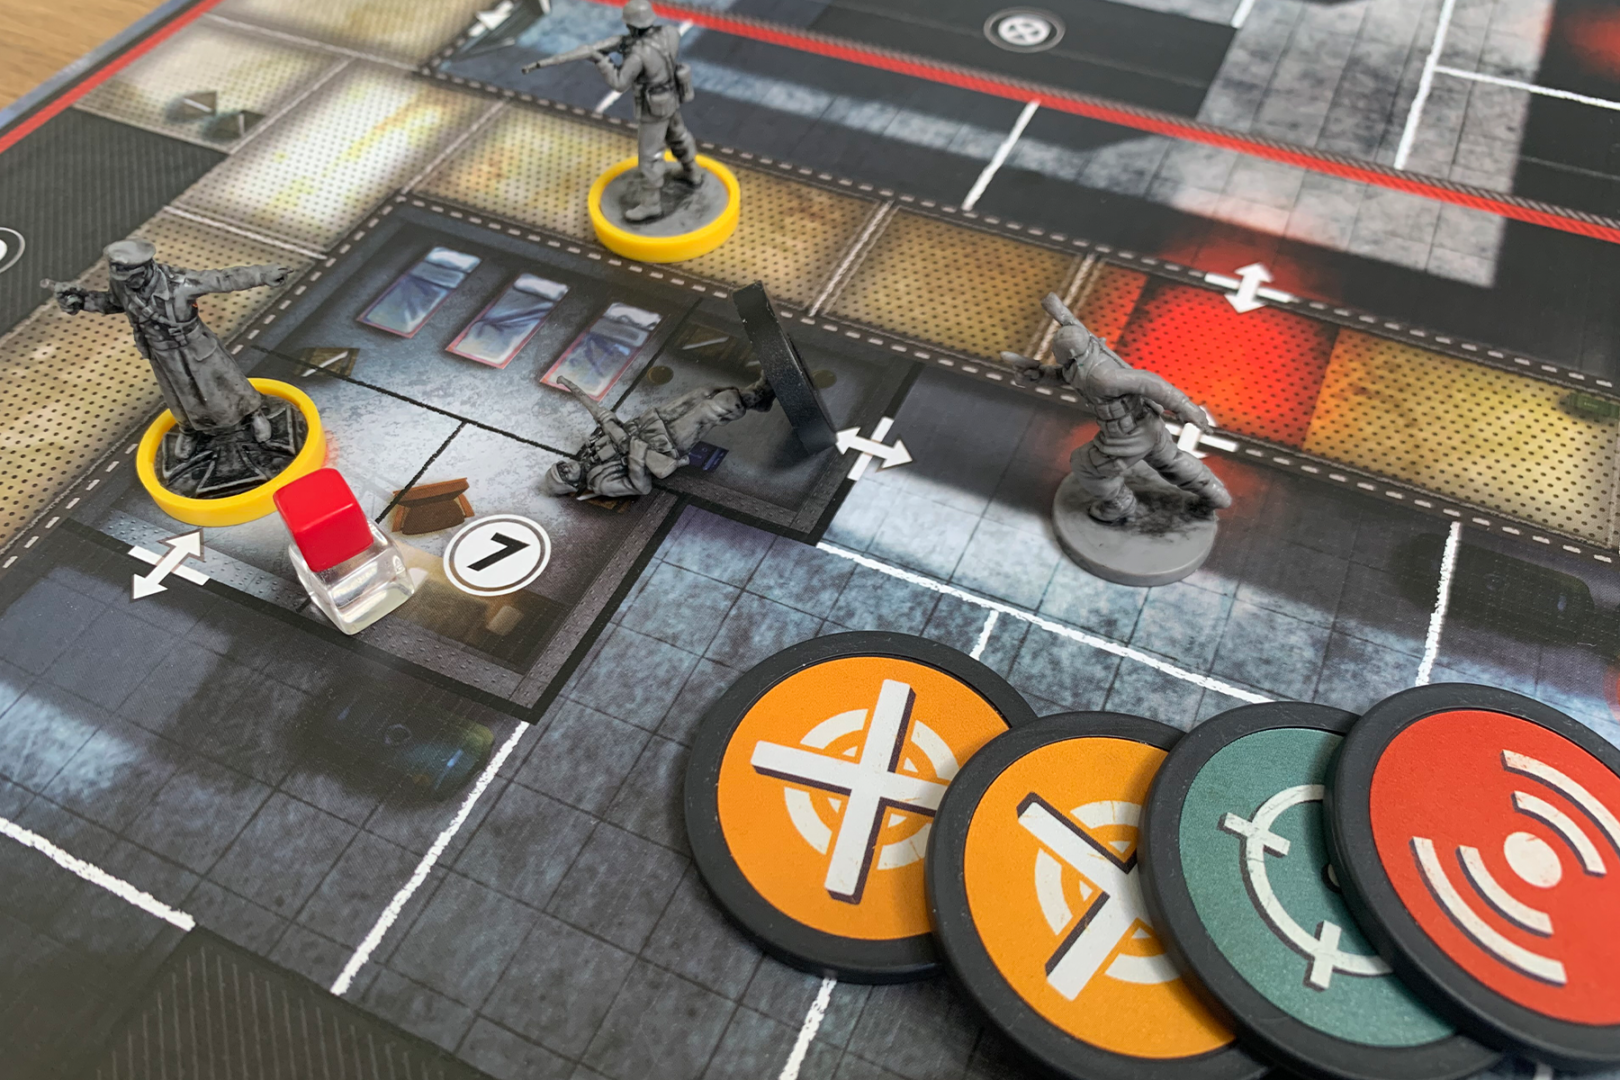
An alternative option would be to go for the objective itself. This is what I go for, moving forwards and completing Objective 6. That Landing Gear won’t be of much use anymore!
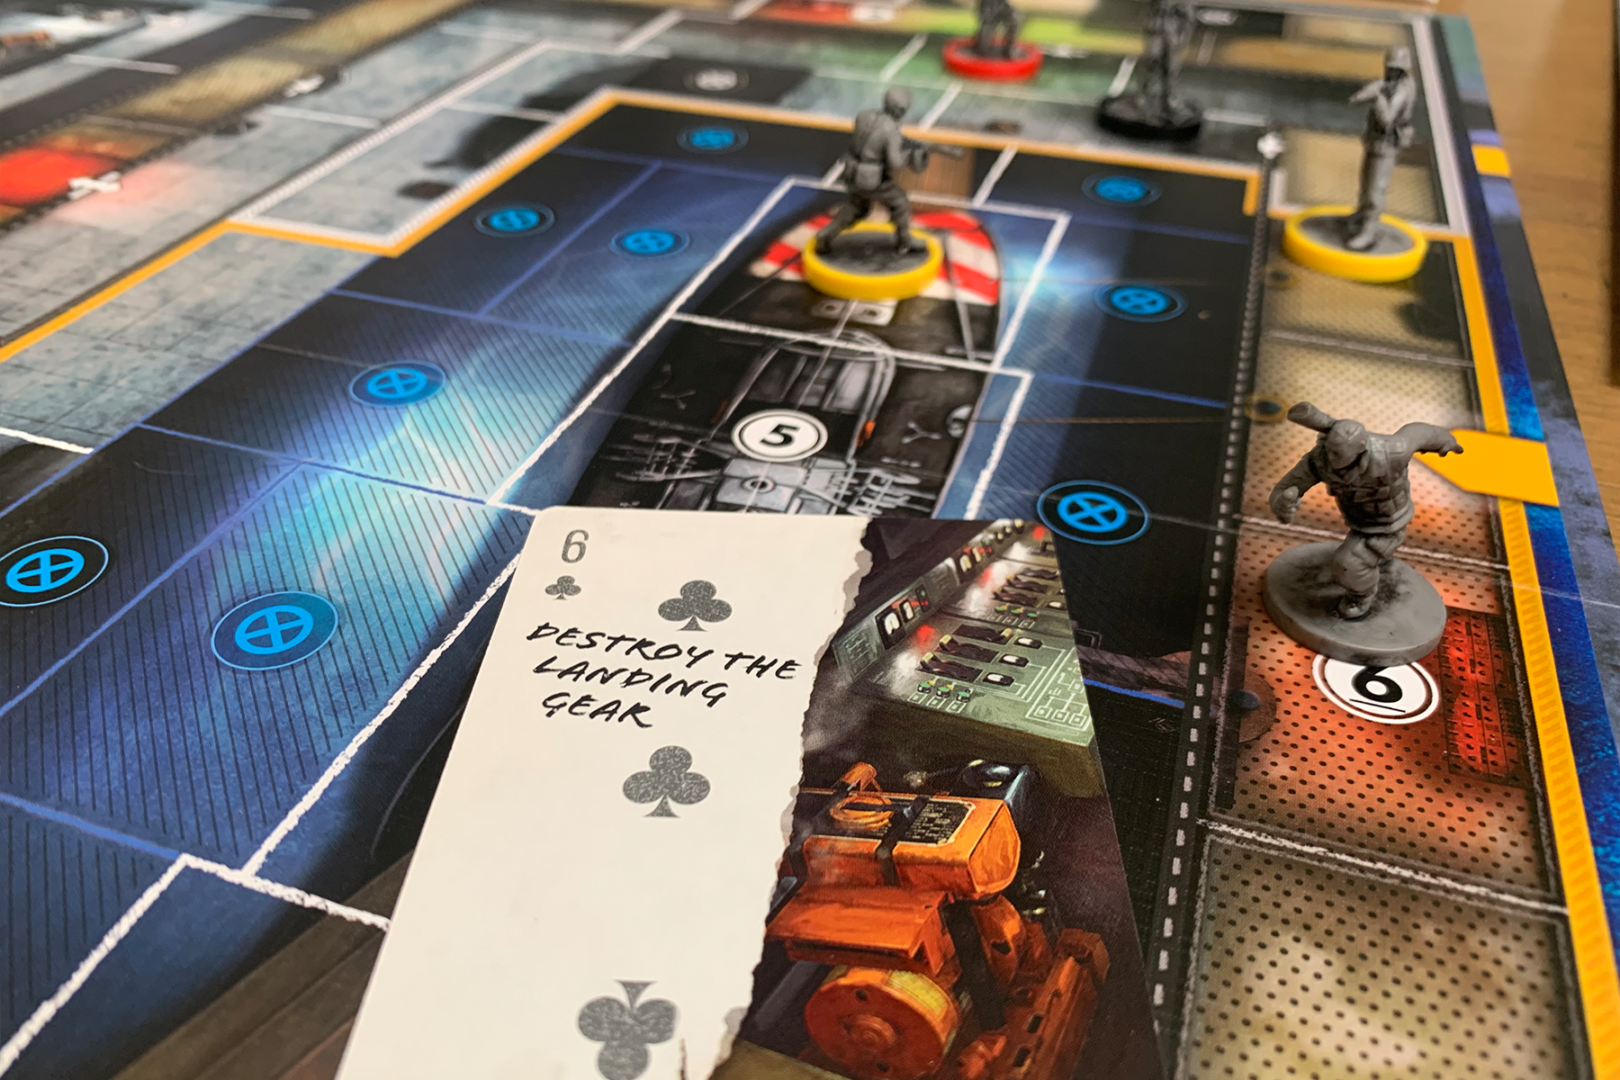
When you complete an objective, the first thing you do is add a noise token from the supply to your shot bag (oh joy.) Then, you shuffle the discarded defender cards back into the deck, effectively resetting your round counter, and remove any objectives in the sector you are in as possible objectives.
Finally, for each possible objective you deploy the soldier furthest to you to it, spreading the enemies out again and making sure there is a solider guarding your next target!
As a final treat for my opponent, I use one of my loadout cards to place a mine in the space I’m in, just in case anyone decides to follow me.
Turn 5 – The Defenders
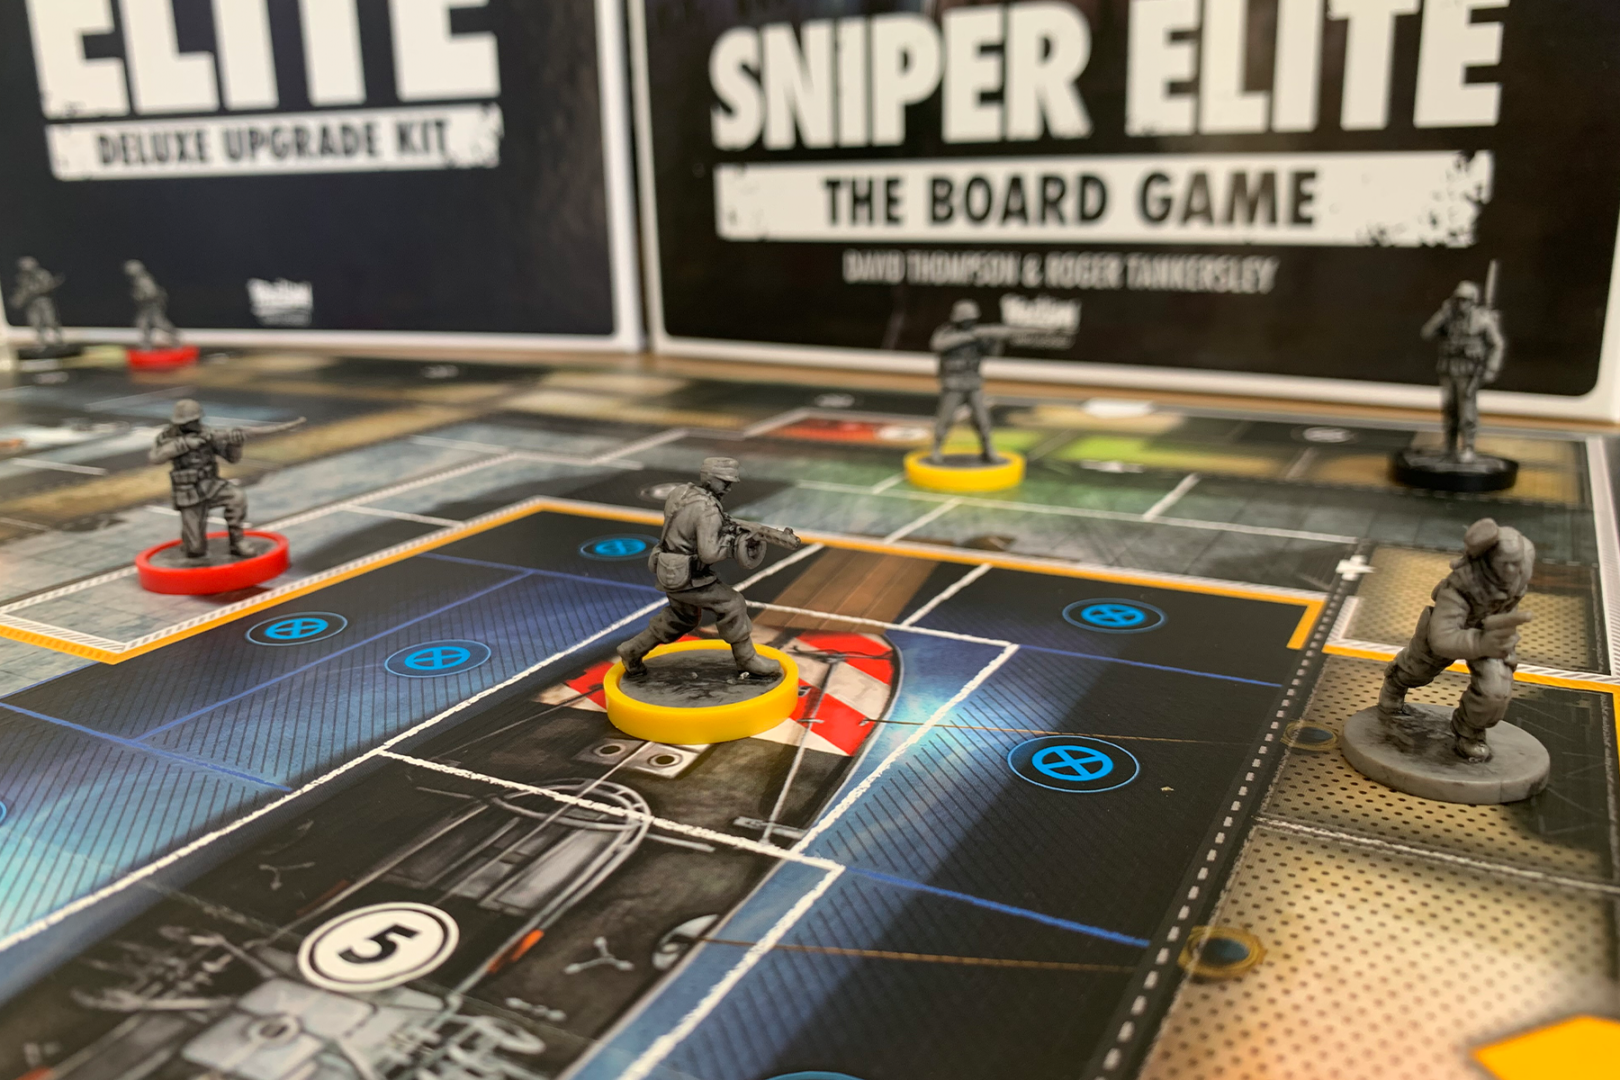
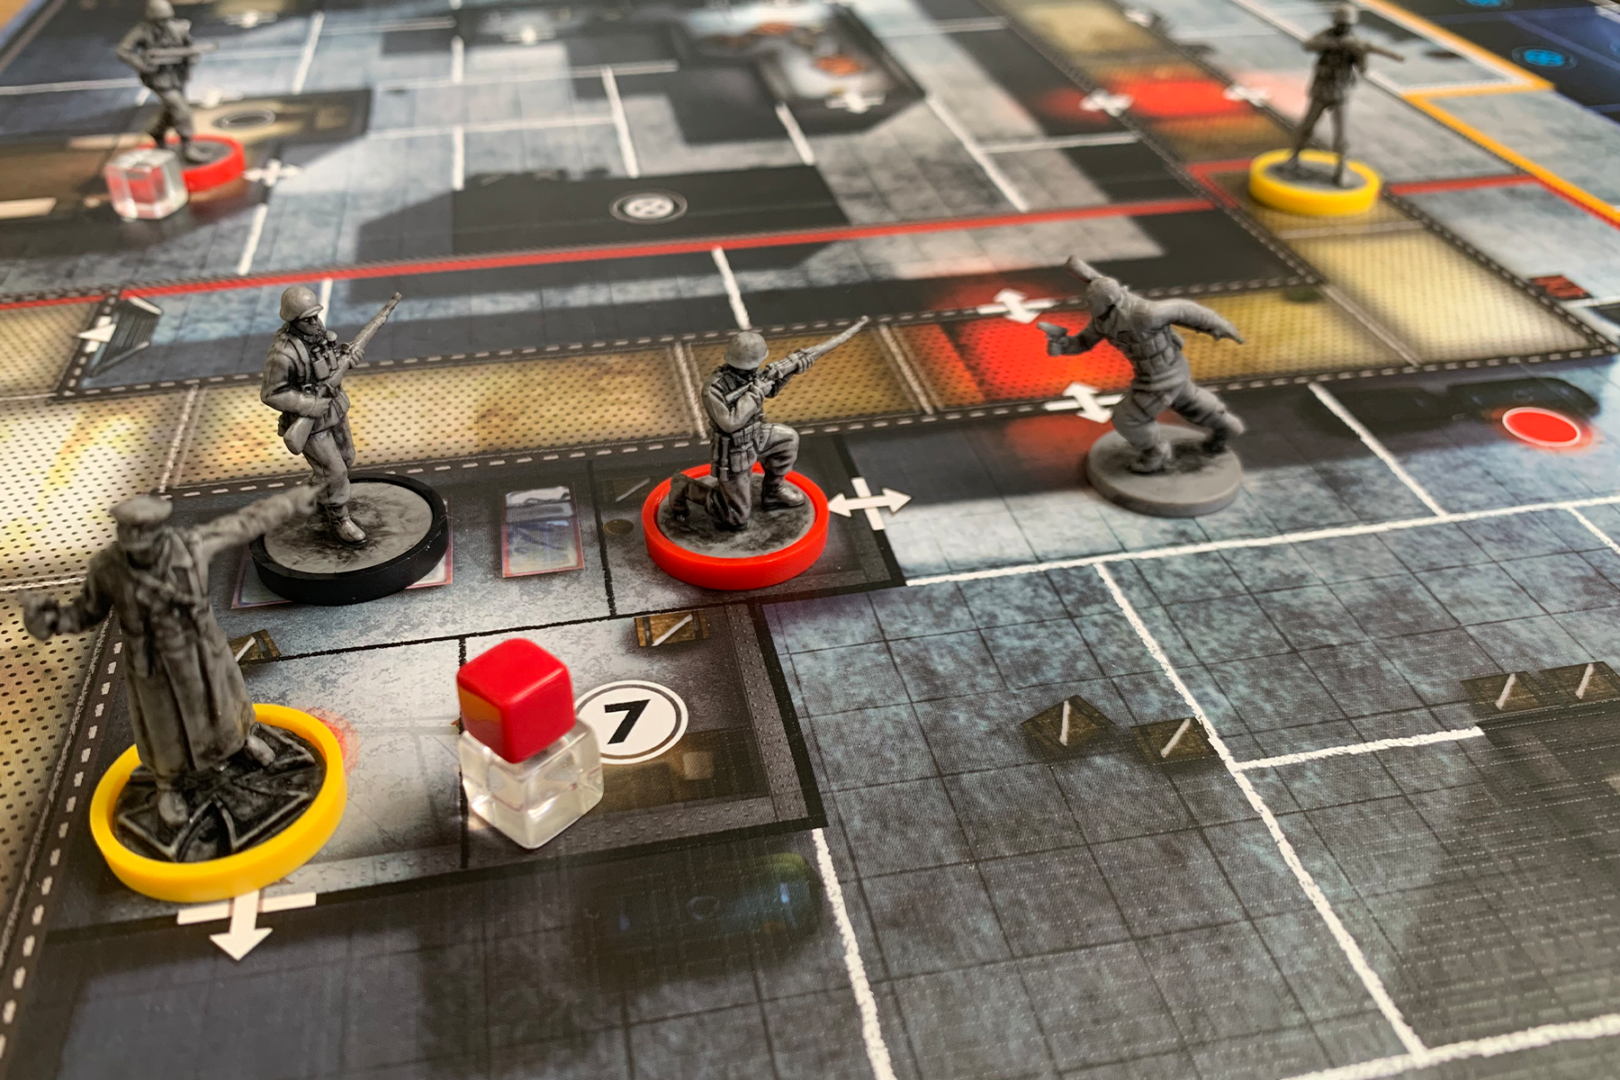
I pick up the solo die with a renewed sense of optimism and roll. The result – double chevrons. They’re guarding all entries, which causes soldiers to deploy into defensive positions by the possible objectives on the board.
Now there are four soldiers in close proximity to the objective I’m heading for. Things just got a LOT harder.
Turn 6 – The Sniper
Looking at the board, things look bleak. The quickest route out of the Yellow Sector is blocked, and if I try to rush towards the longer route then I will take more hits for running in the LKS. Slowly sneaking out of the Yellow Sector definitely isn’t an option, as by the time I’m out the solo deck will have run out and the game will go to my enemy.
I desperately need to clear some of the noise tokens from my bag, so I decide to start the turn by taking a shot at the soldier behind me on the elevated walkway. He’s two spaces away so I opt to draw 6 tokens from the bag. C’mon Karl, shooting is what you do best!
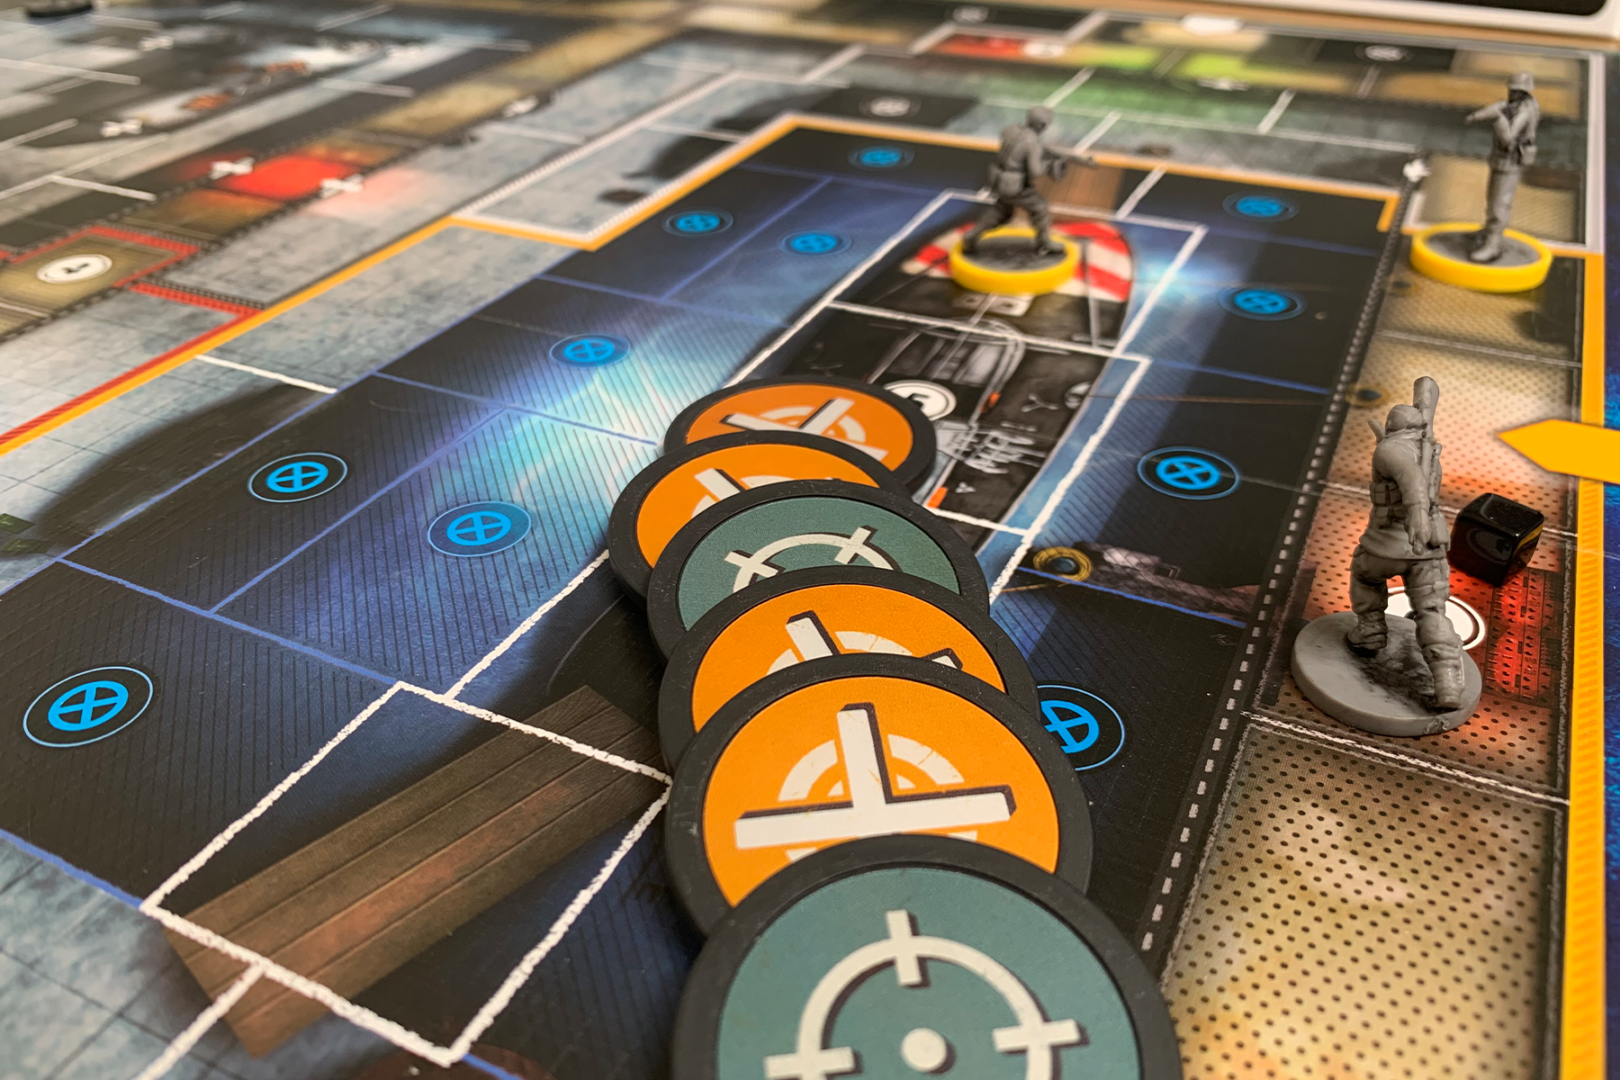
The sun must have been in his eyes. If I hadn’t been using the complication added in the Radio Operator Officer Challenge that would have been a success, but unfortunately the special rule I’m playing with means my rifle misfires.
My rifle clicks, and I sneak one space to finish my turn, hoping to slink away from my failure.
Turn 6 – The Defenders
The solo die lands on the double chevrons – the enemy is on the hunt! Fortunately no one spots me with the Search ability, so instead they all head towards the closest possible objectives (and further away from my S-Mine!)

Turn 7 – The Sniper
I’m definitely feeling up against it time-wise. I’ll lose if the defender deck is empty when they start their turn, and there are only seven cards left in it.
Learning nothing from my previous turns, I start my turn by taking a shot, drawing 5 tokens to try and hit the enemy currently patrolling the boat below me. Two hit tokens required…
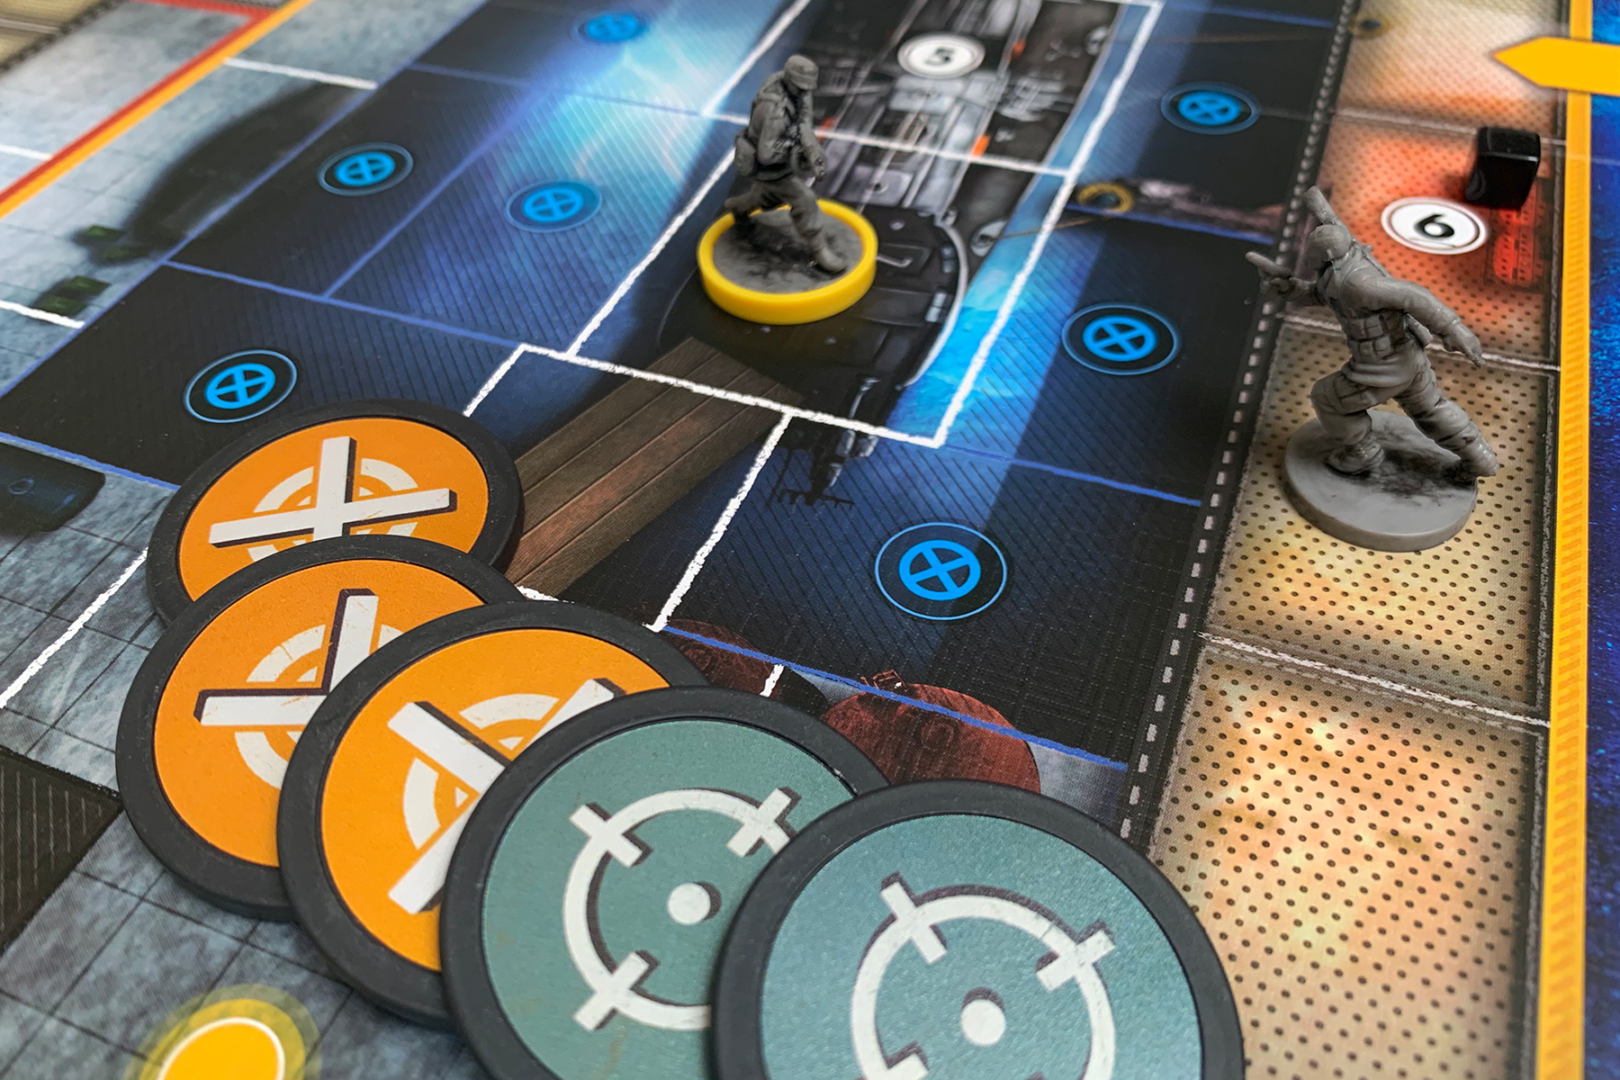
A successful shot! My cry of “I am Karl Fairburne” causes some unpublishable language from the neighbours, but they don’t know the struggles I’ve been through. I’ll print this battle report out and post it to them, then they’ll understand.
So what does that shot mean? Firstly, one less soldier to worry about on the next defender turn. Secondly, I can take one of the noise tokens from my bag and return it to the bottom of my health stack, giving me a bit more wriggle room in the coming turns. Thirdly, the run of back luck is over and victory is within my grasp (hopefully…)
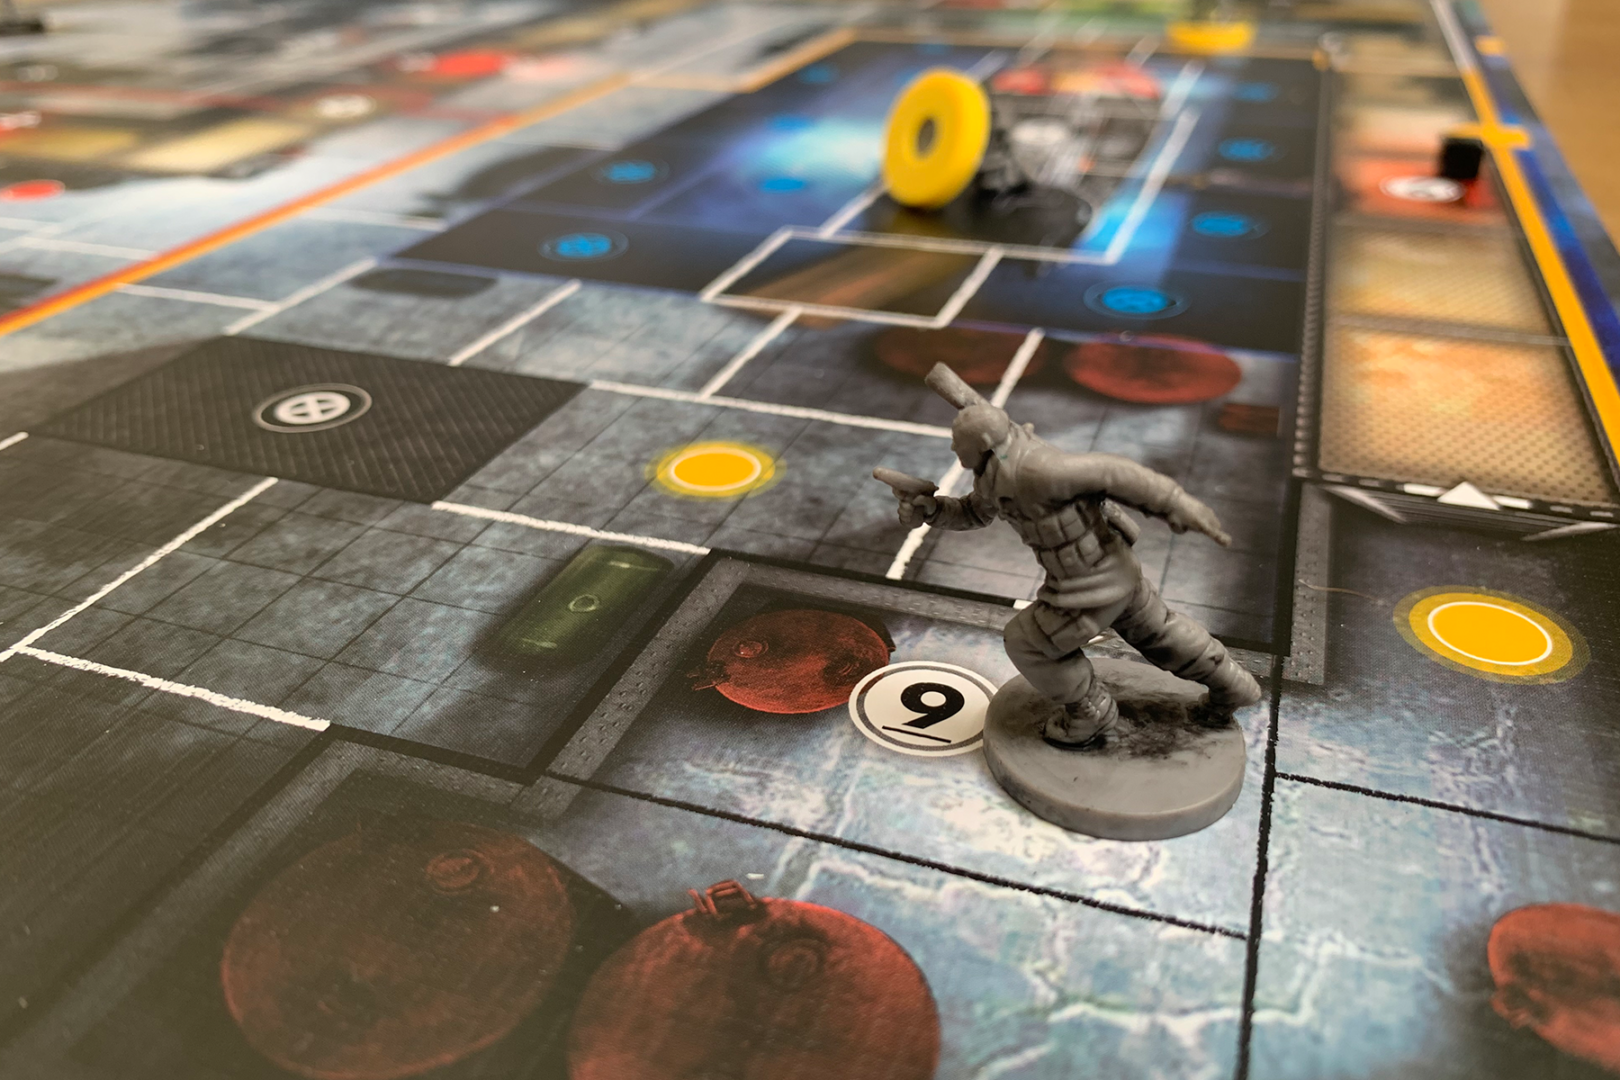
After that, I dash towards Objective 9. Running in the LKS means I’ll take a hit, but I need to loot on my next turn and hope for something that will help me as the game reaches it’s final act.
Turn 7 – The Defenders
For the first time, the triple chevrons make an appearance. The Search Position card neither helps nor hinders me – it doesn’t move anyone away from the objectives they are defending, but I am out of range of their searches. It is another card gone though – time is running out.
Turn 8 – The Sniper
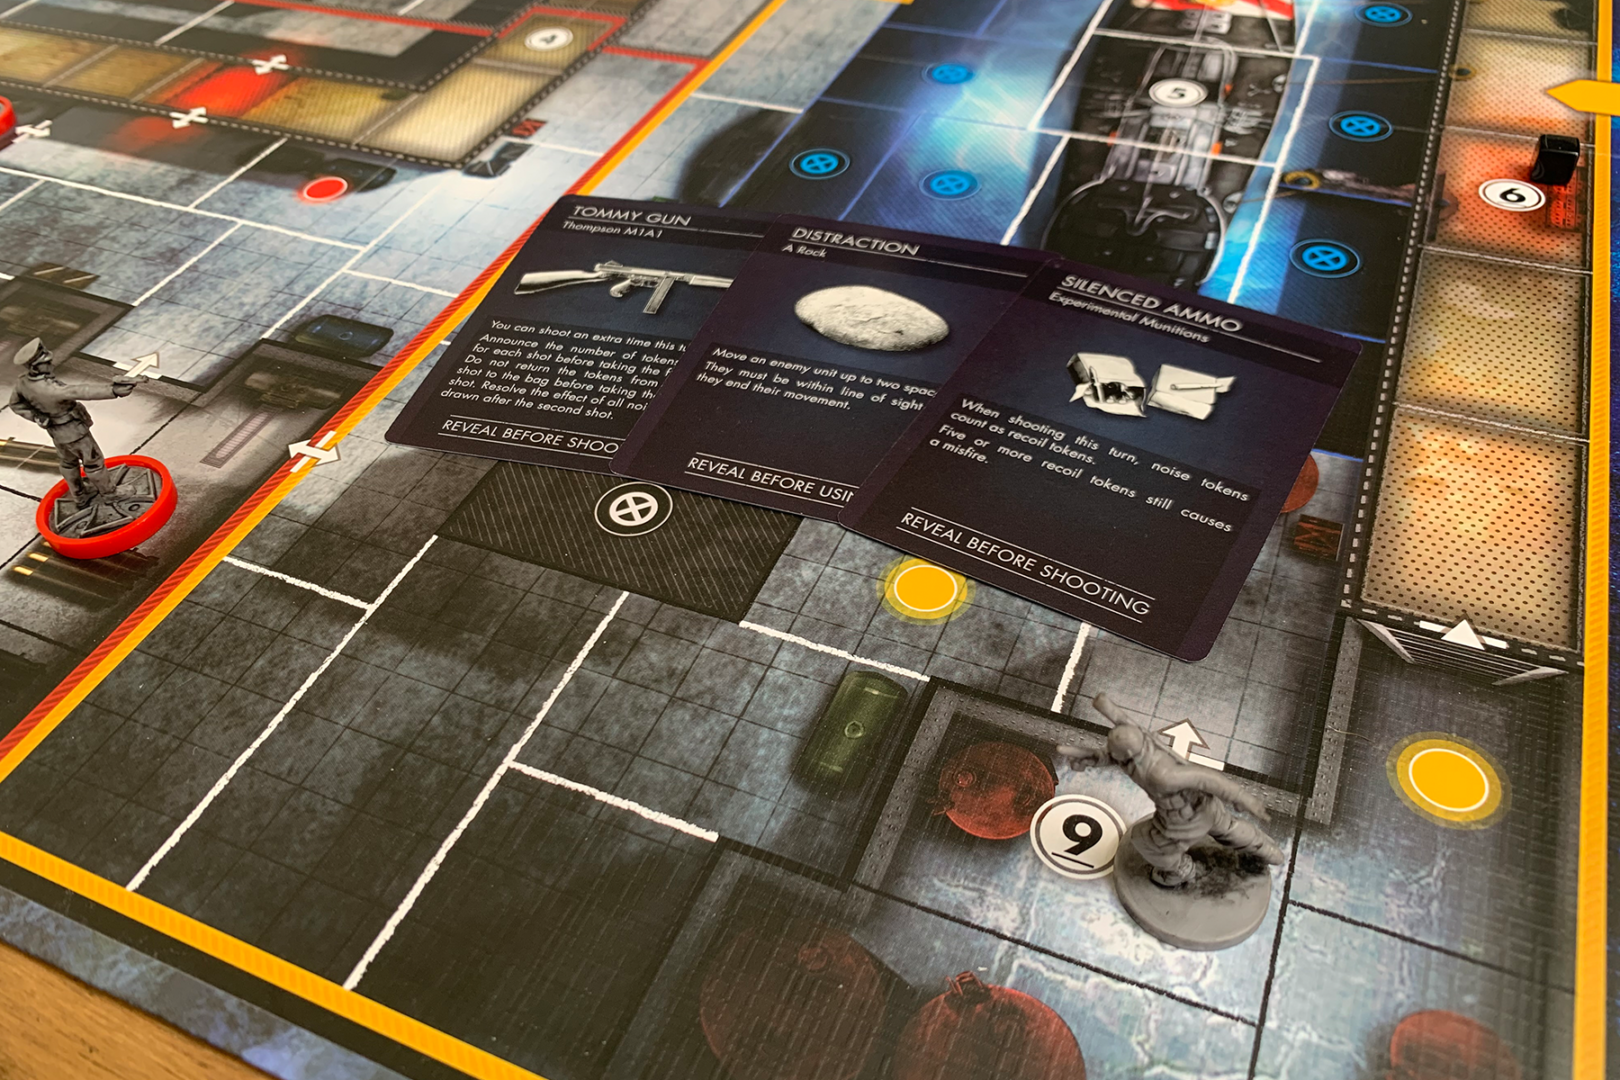
Right, let’s see what the enemy have left lying around in here shall we? I take the loot action, meaning I reveal three loadout cards from the top of the deck and choose one to keep. I was hoping to grab the Silent Movement card, but instead grab Silenced Ammo to help cancel out some noise tokens next time I shoot.
Then its another dash within the Yellow LKS, which means another hit. Certainly not ideal, but I just have to push to the end at this point.
Turn 8 – The Defenders
The solo die is rolled, and the Ambush card comes up? The enemy soldiers take up positions just inside the doorways by all the possible objectives, lying in wait for yours truly.
Turn 9 – The Sniper
I can see the border for the Red Sector. I can finally get out of Yellow! Whether I’ll survive when I get there is yet to be seen, but that is a problem for future me.
My first action is to move three spaces into the Red Sector, opting to take the position adjacent to the red soldier by Objective 8. I could have played it a little safer, but I wanted to try to get another token out of my bag by taking out an enemy.
All I need is one success, but with the risk of attracting enemies with any noise tokens drawn I opt to use my silenced ammo and draw 4 tokens.
Wayne Gretzky once famously said “you miss 100% of the shots you don’t take”. It feels a bit like I just miss 100% of the shots…
Turn 9 – The Defenders
Things were already looking grim, so why not pile on the misery with the Assignments D card, bringing all the soldiers into the Red Sector?
Fortunately, I only take a hit from being in a matching adjacent space if I’m there at the end of my turn, not the Defender’s turn, so provided I move away on my next turn I will be fine.
Turn 10 – The Sniper
It really does feel like things are just going from bad to worse. The plus side is I haven’t yet been wounded and I’m not too far away from the objective I need.
Unfortunately, I’m not sure making a dash for it is a valid option. Instead, I decide to take a sneakier approach.
In the vain hope of removing some of the negative tokens from my bag, I take a shot at the soldier beside me, hoping to draw 1 success with 3 tokens drawn.
This time things go better – a successful hit, which means one noise token back to the health stack.
Buoyed by my success, I make a dash towards my final objective. Running in my LKS means another hit, but puts me so close to victory!
Turn 10 – The Defenders
Hmmm, definitely not ideal as the Solo card sees three soldiers hunker down around the objective I want, with one having the audacity to scan and deal another hit to me, removing the final token from my health stack. One more hit and I’ll be wounded, but while I may be bloodied I think I’ve got this one!
Turn 11 – The Sniper
Lets see how the soldier guarding the door likes 3 shot tokens!
Karl has his eye in – another successful shot, but another guard move to guard the doorway due to the noise token I drew. Checking the solo board I see that they have the “Spotlights” card as their double chevron option, so I duck under the raised walkway to try to avoid any risk from that!
Turn 11 – The Defenders
My fears were in vain, as a single chevron is the result.
Although the single chevron does mean the guard at the door spots me lurking in the passageway, dealing another hit to me and leaving me wounded. This means I have to flip my wound token and am a step closer to defeat, but I do get to remove 3 recoil tokens from my shot bag to create a new health stack.
Turn 12 – The Sniper
There are two cards left in the solo deck, meaning I have three turns to win. My health is low, and the single chevron card will 2 damage to me if I’m in the open. My shot bag is a mess, with recoil and noise tokens outnumbering my hit tokens.
I’m tempted to just try a shot from my current position, but I’m not confident of hitting a range 2 shot so instead opt to step out of the protection of the covered passageway and try the point blank shot. One hit needed, 4 tokens drawn…
Success! And a good example of the SNAFU rule in action. The yellow soldier behind the one I killed is going to move towards me due to the noise token I drew, but there are two possible spaces he could move to – the space above him, or the space to his right with the objective on it.
The SNAFU rule says that in situations like this the enemy performs the action that is worst for you – which in this case would be stepping onto the objective so that I can’t dash in and grab it!
Turn 12 – The Defenders
A curveball in the end-game – triple chevrons come up, which means we flip a car to reveal Assignments C. I’m spared the attack from the Spotlights card, but another Yellow soldier has moved in to help defend objective 7!
Turn 13 – The Sniper
I’m so close now! A single space sneak gets me into the room with the objective I’m after, and rather than even drawing tokens from the bag I reach for the trench gun and start blasting.
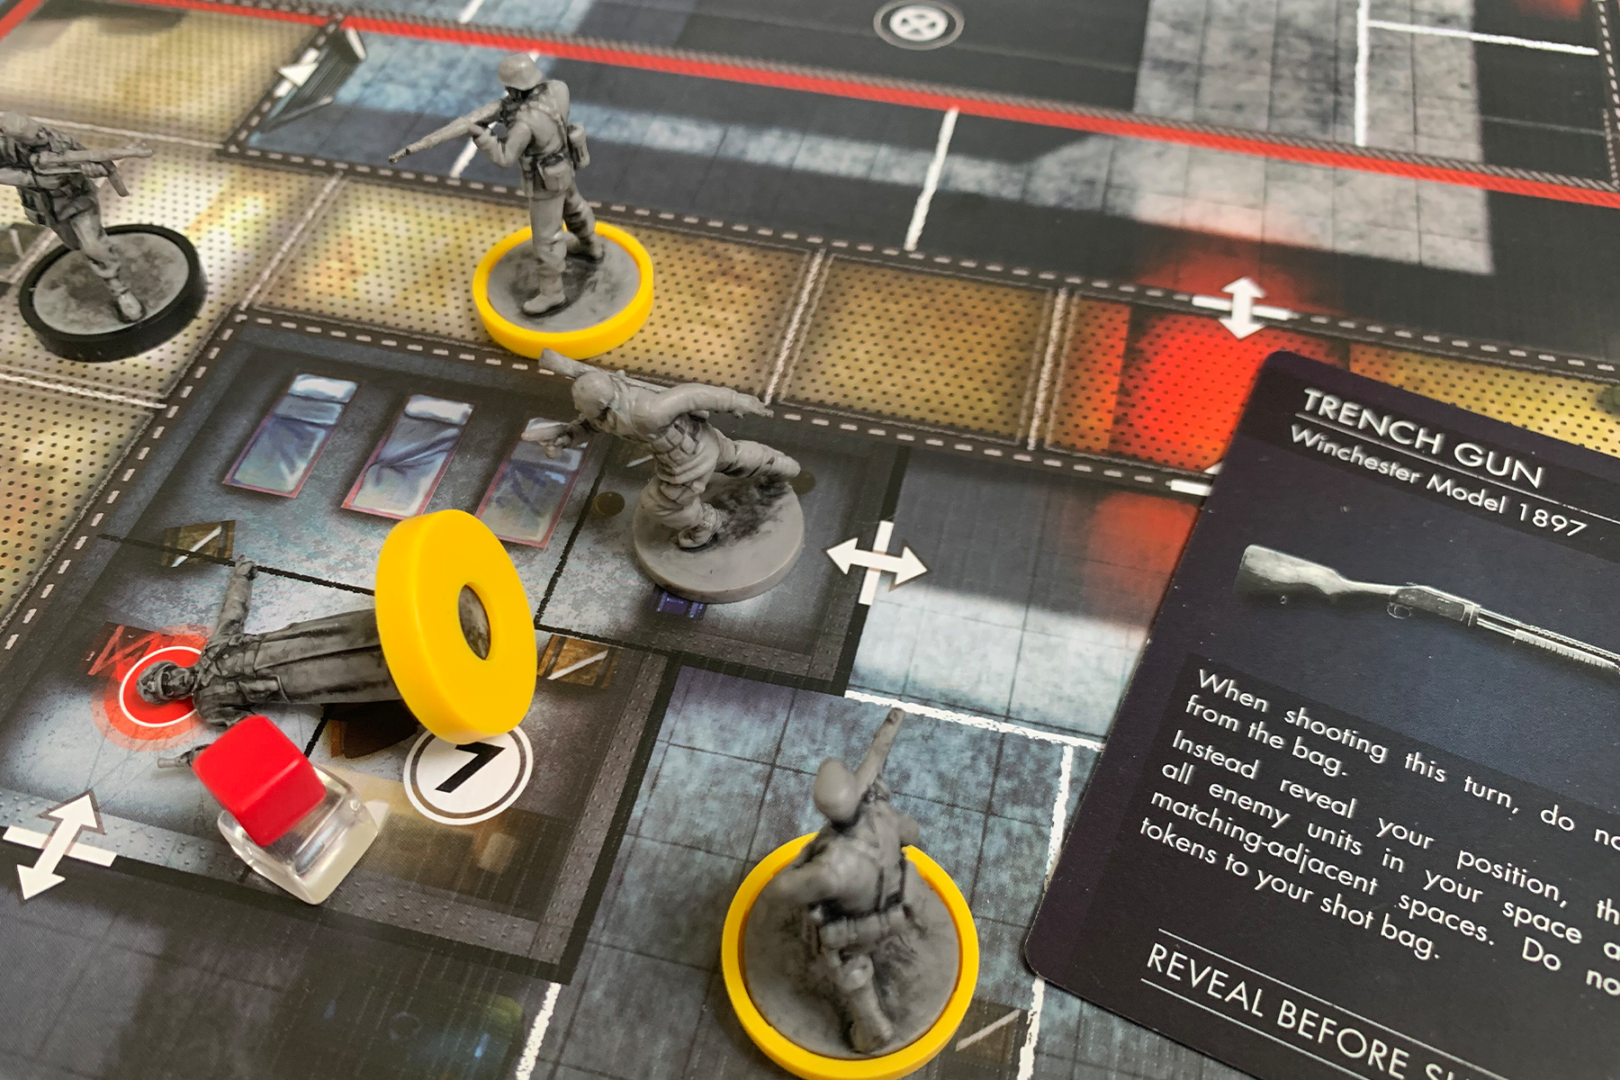
Provided no one gets onto that space (and I don’t get killed…) the game is mine!
Turn 13 – The Defenders
And at the last moment, the enemy leadership stumbles. Despite all the evidence point towards me pushing for Objective 7, they decide to spend their turn gathering extra intelligence, working out that I’m not searching for the Enigma machine or the attack plans.
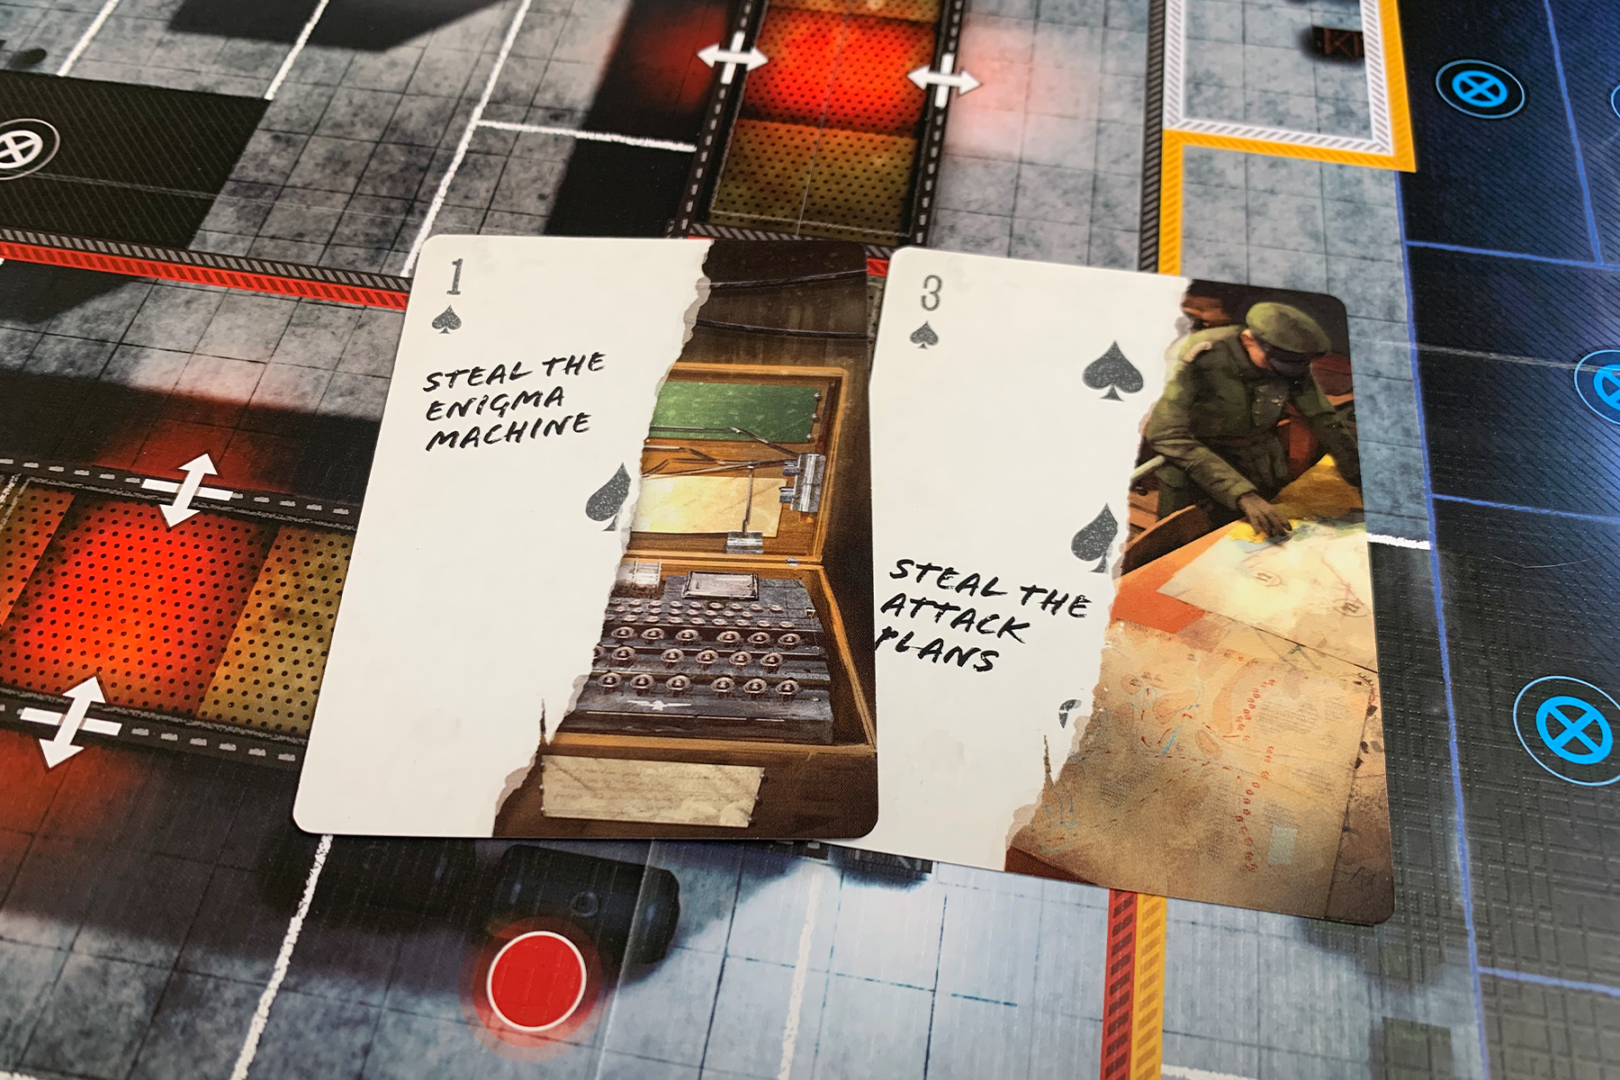
Good job fellas!
Turn 14 – The Sniper
A single step forwards. A note placed beneath a pillow. An objective completed, and the game is won.
It came down to the final turn, and my shooting definitely left something to be desired, but the day belongs to the Allies! Luckily the enemy have their Radio Operator to give High Command a call and let them know what happened.
Want to bring Karl Fairburne to your tabletop? Order your copy of Sniper Elite: The Board Game today!